Making a LEGO Stop Motion Movie
January 19, 2019I am always looking for fun and entertaining projects to do together with my kids. Ideally, these projects should foster their creative development and appreciation. Even more ideally, these projects should involve technical or geeky subjects that I myself care about.
So doing a LEGO stop motion movie, seemed like the ultimate idea!
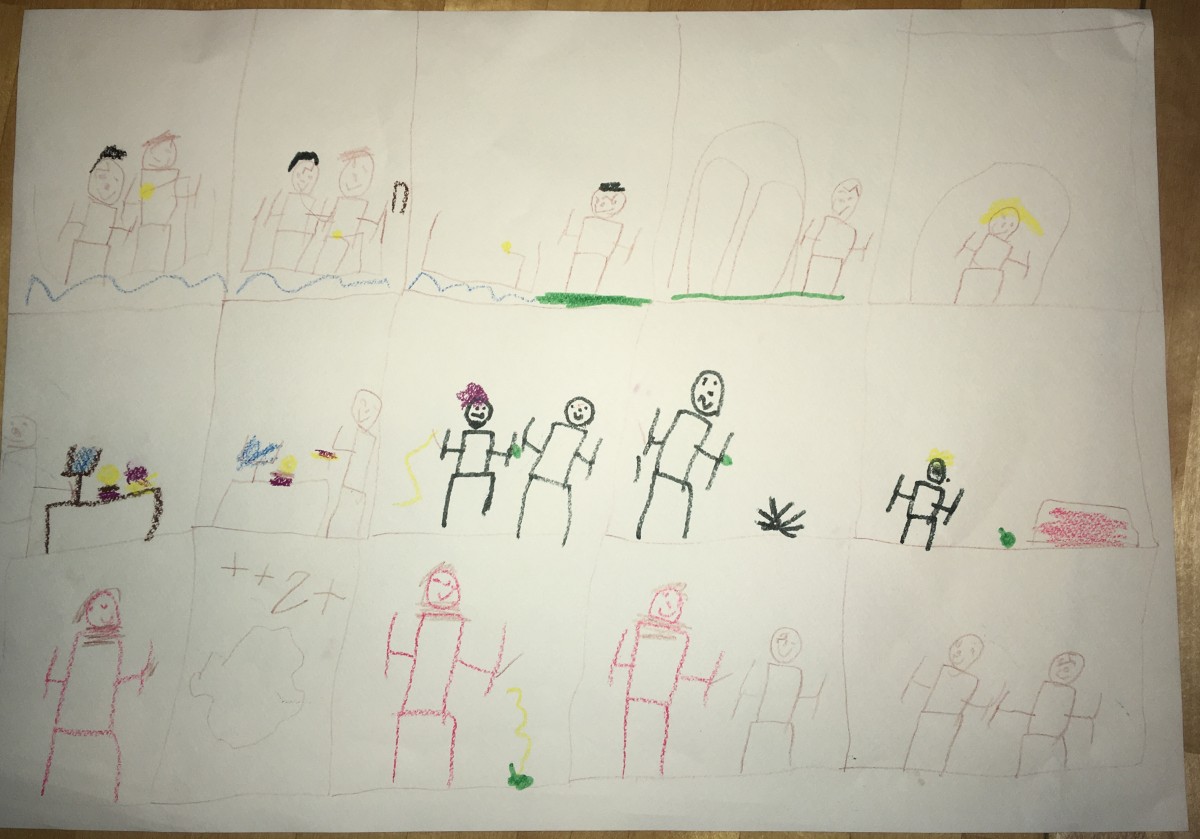
After presenting this idea to my 6 year old, he immediately was enthusiastic and told all his friends about it. So we had to come up with something quickly and created our first "masterpiece".

Proper Planning
For the next project we took a little more time and developed a short story using the Harry Potter LEGO set we had bought recently. My son even come up with a storyboard for this movie.
Equipment
Here's what we used for our movies and what you should have at hand in terms of equipment:
- Camera: I simply used my iPhone for taking the pictures.
- Tripod / Mount: It's important to have the camera as steady as possible to avoid a "shaky" movie. That's why you should really have some kind of mount or tripod for your camera or smartphone.
I found this handy tripod for my iPhone.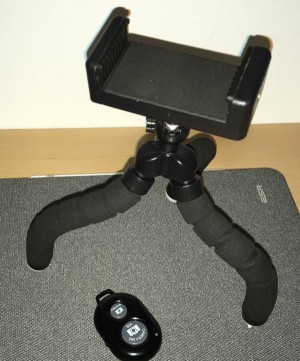
It even comes with a Bluetooth clicker that let's you remotely take the pictures once the camera is set up. - Light sources: Good illumination is very important, of course. Don't rely on daylight since this might change during your shoot and you will notice in the video later. We used a very bright LED work lamp to illuminate the scene.
- LEGO ... d'uh
- Props, like sheets of paper for background, water, lawn, etc.
Editing
Once we had taken all our pictures, I first sampled them down because a video resolution of 4032x3024 seemed a little over the top.
Batch processing of images is best done using Imagemagick - more specifically the mogrify tool which is part of this suite.
Here's how you would install Imagemagick on Linux (for Windows there's a download link on the website).
sudo apt-get install imagemagick
Then we used mogrify to resize all pictures to 1280x960.
mogrify -resize 1280x960 *.jpg
Also I had to rotate all images of the first scene, because apparently, I had mounted the iPhone upside down. But no problem at all for mogrify.
mogrify -rotate 180 *.jpg
FX
For the magic / fighting scenes, I unleashed my paint.net (actually Pinta) powers and added bolts of lighting coming out of the wands.

Images to Video
Now with everything in place, the only thing missing was piecing these images together into a movie. The best tool for that kind of job is the CLI tool ffmpeg.
Here's how you would install it on Linux - or WSL (Windows Subsystem for Linux) for that matter.
sudo apt-get install ffmpeg
Then it's as simple as calling ffmpeg with a couple of arguments:
ffmpeg -i IMG_%04d.jpg -start_number 3535 -framerate 5 -c:v rawvideo legomovie.mkv
-i IMG%_04d.jpgspecifies the input images. The pattern means I am looking for jpg files with the prefix IMG_ followed by a 4-digit number (e.g. IMG_3535.jpg).- The argument
-start_numberis very important and easy to overlook! It means thatffmpegstarts looking for images beginning with the specified number (the images have to be in a consecutive order). Otherwise it would look for IMG_000.jpg and fail. -framerateprobably speaks for itself. Use it to control playback speed for your video.-c:v rawvideowas an option I used to have the image in raw format.
It's a Wrap!
And here's the final result. Enjoy!
