Game Boy IPS Display Mod
February 10, 2026I recently stumbled over these Game Boy boards (main and display) on an online action platform. They were listed as "for spare parts and repairs" and really cheap, so I took the risk.
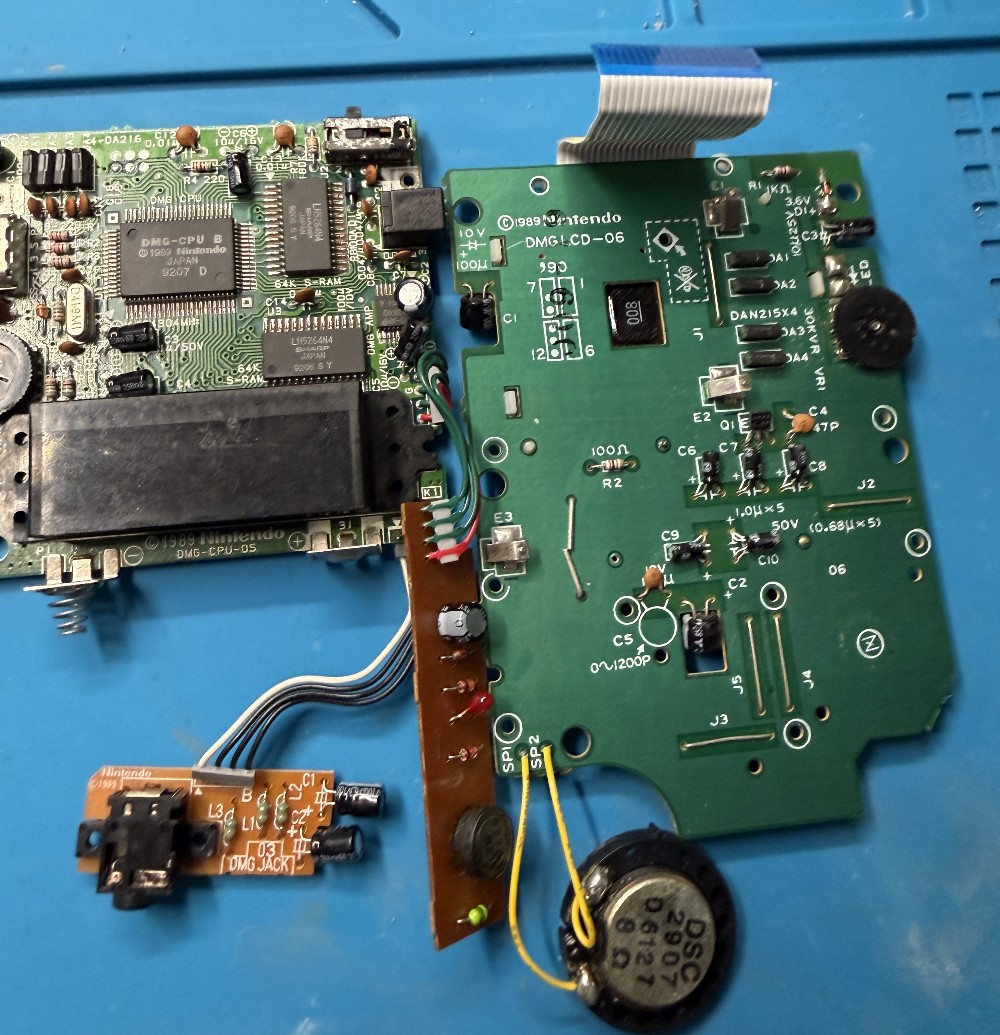
I connected the boards, hooked them up to my bench power supply, inserted a game (Bart vs. The Juggernauts) and got my hopes up for a second.
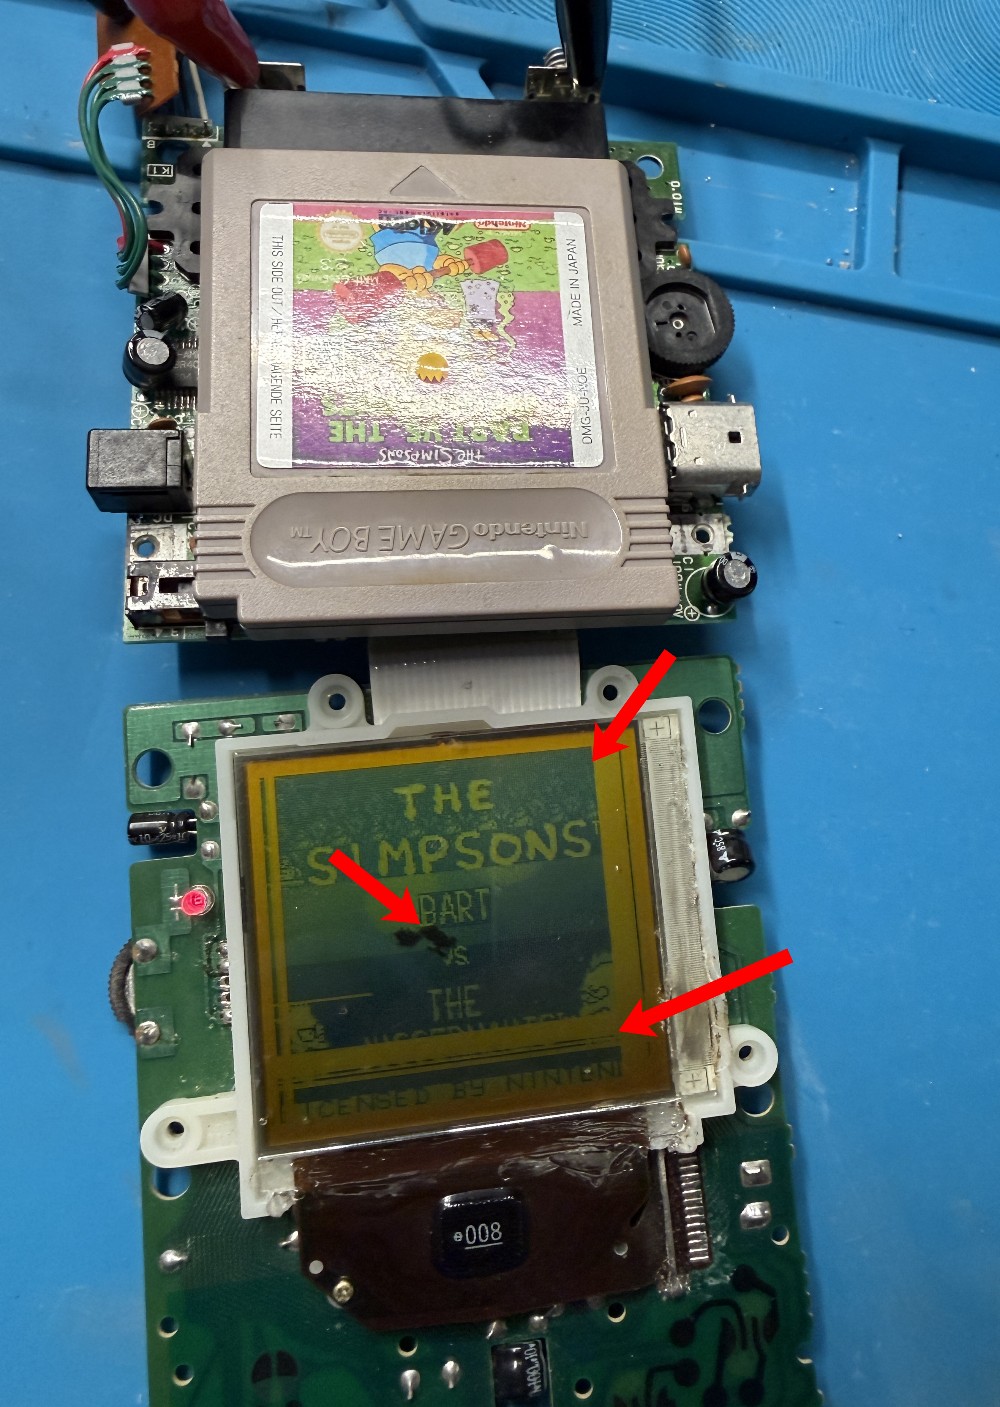
The game was actually starting up, the sound was coming out loud and crisp, but the display had a lot of dead stripes. Vertical stripes are usually fixable (see my post for details) but the horizontal ones typically mean game over.
I tried for a bit, but actually made it worse. The black "stain" in the center of the display is the result of these efforts 🤦.
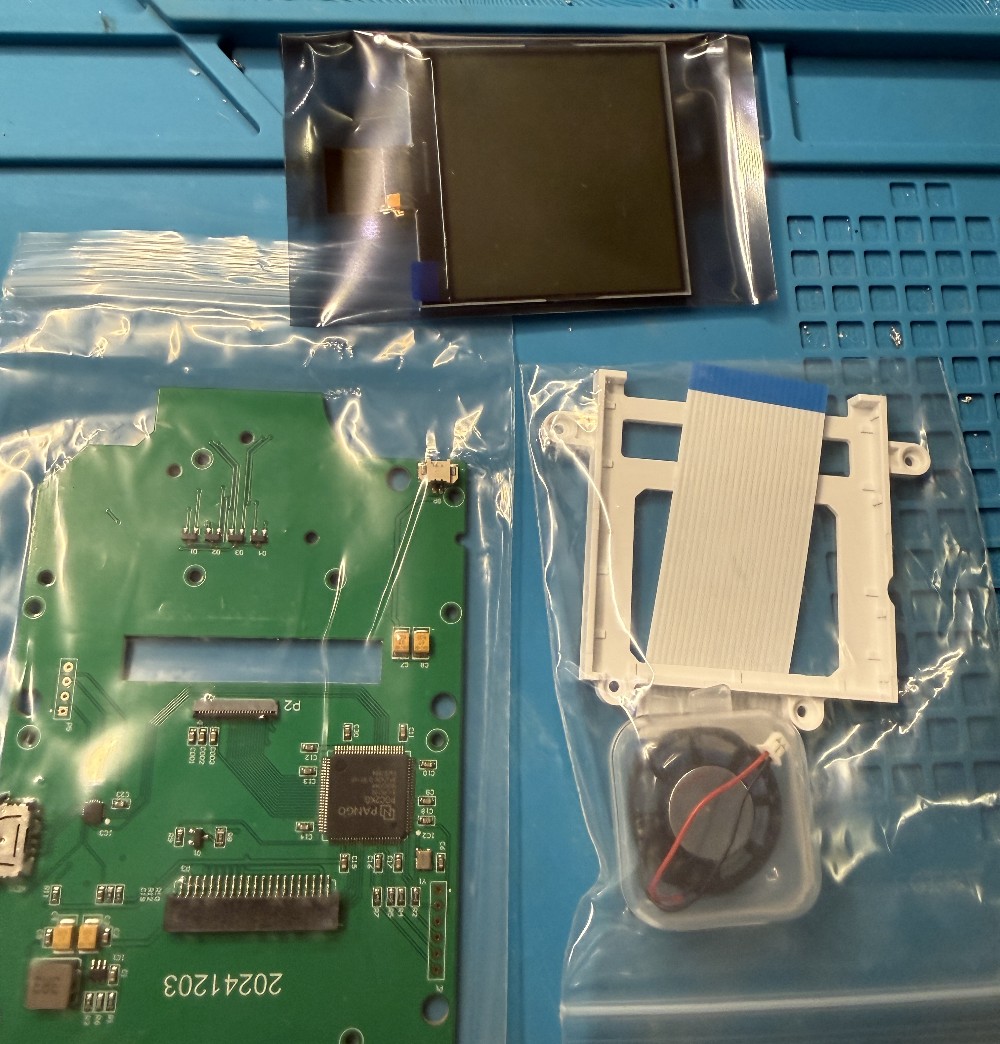
Replacements Needed
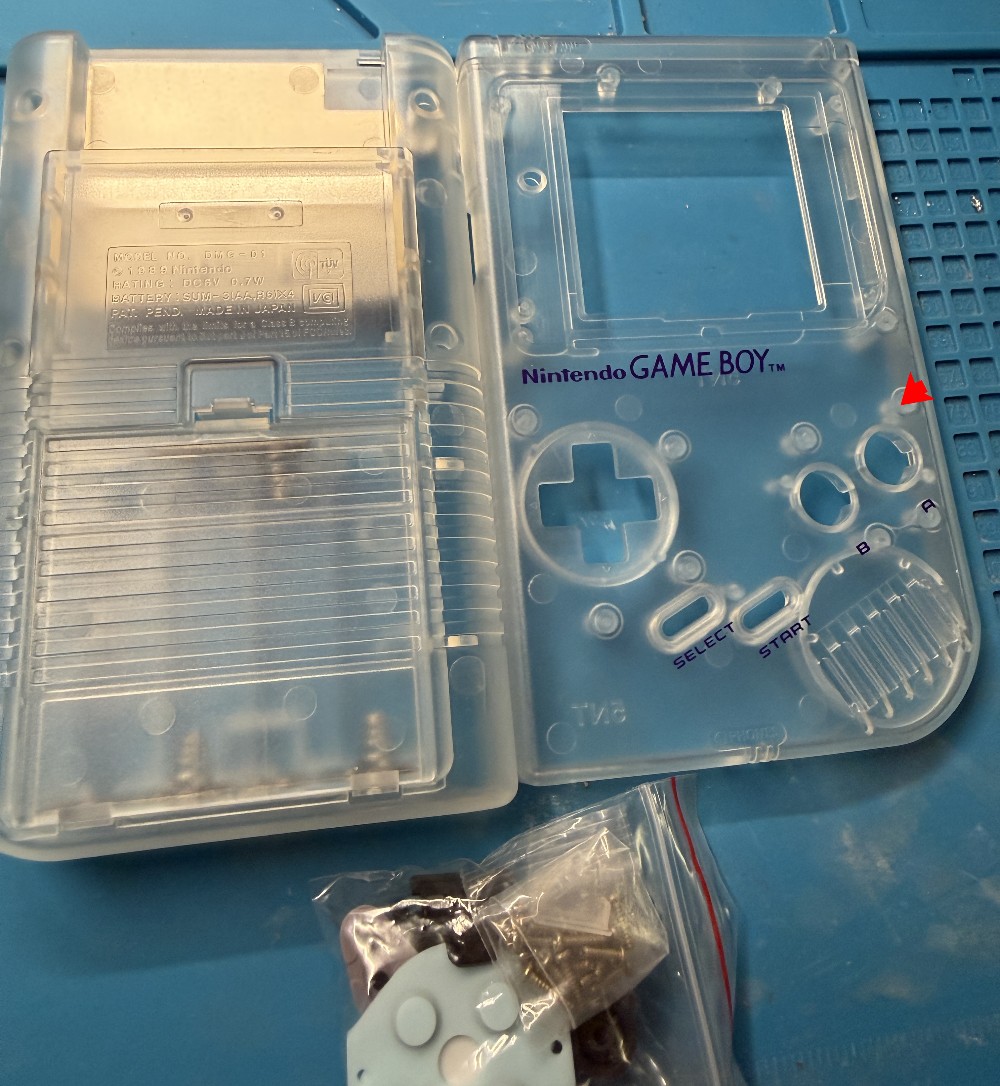
Since I only had the plain boards anyway, the plan had always been to get a new shell for this Game Boy. With the display turning out the be unfixable, I extended my search to a new display as well. I haven't done full display mods before (however, I had done a backlight mod a few years ago) and was quite surprised by the cheap IPS mods available (on AliExpress and the likes). So I figured, I would give this a try and ordered a kit.
I got a new shell - translucent, of course 🤓.
And a full IPS display kit.
Assembling the Parts
I was pleasantly surprised by how the easy the whole process was from here (although I'm not sure what I had actually expected 😆). The whole process was like building LEGO - no soldering required.
First, I put the buttons and speaker into the new shell.

Then, I connected and screwed in the new IPS display board.
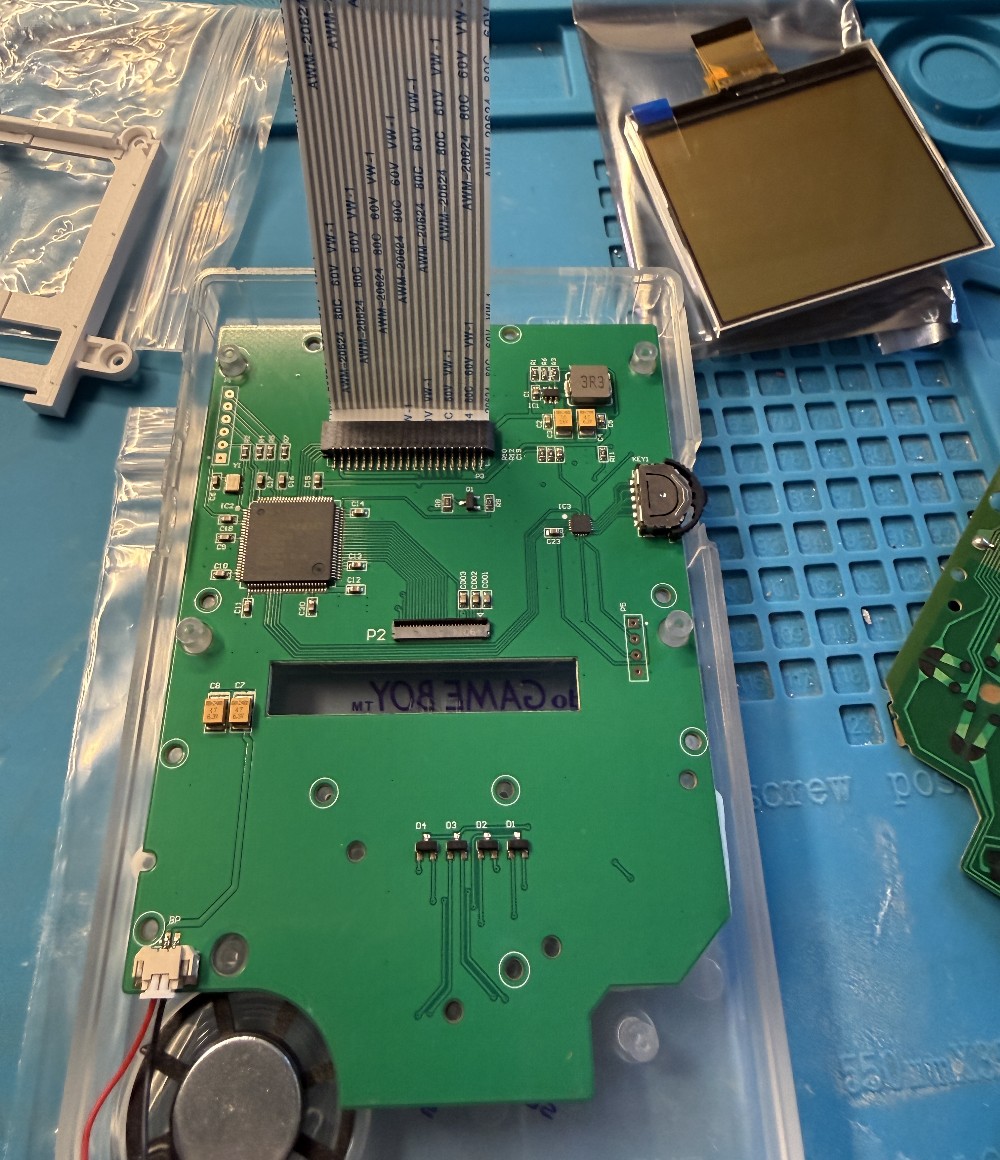
Finally, I connected the new display board with the original mainboard via the ribbon cable again.
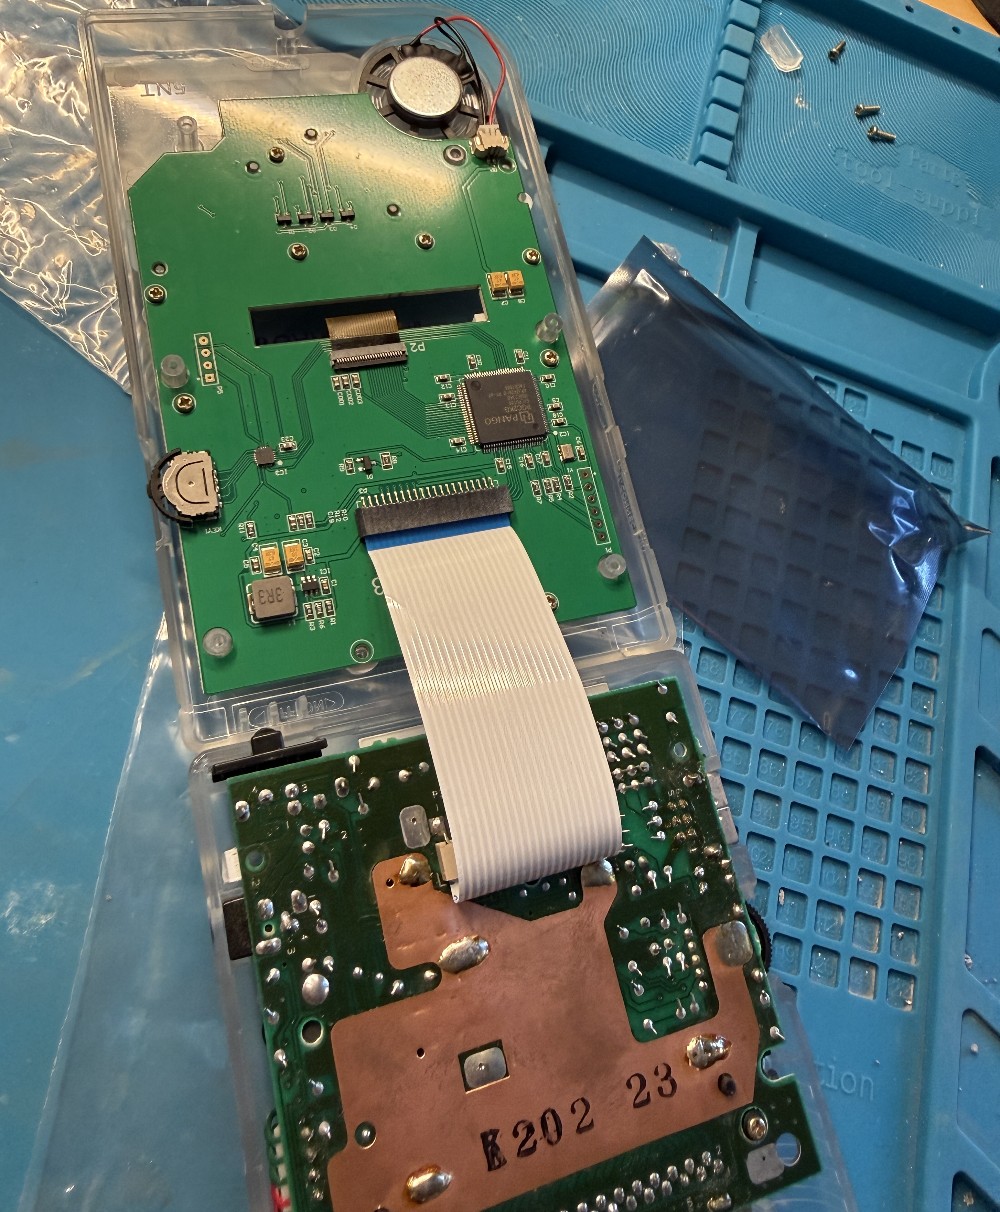
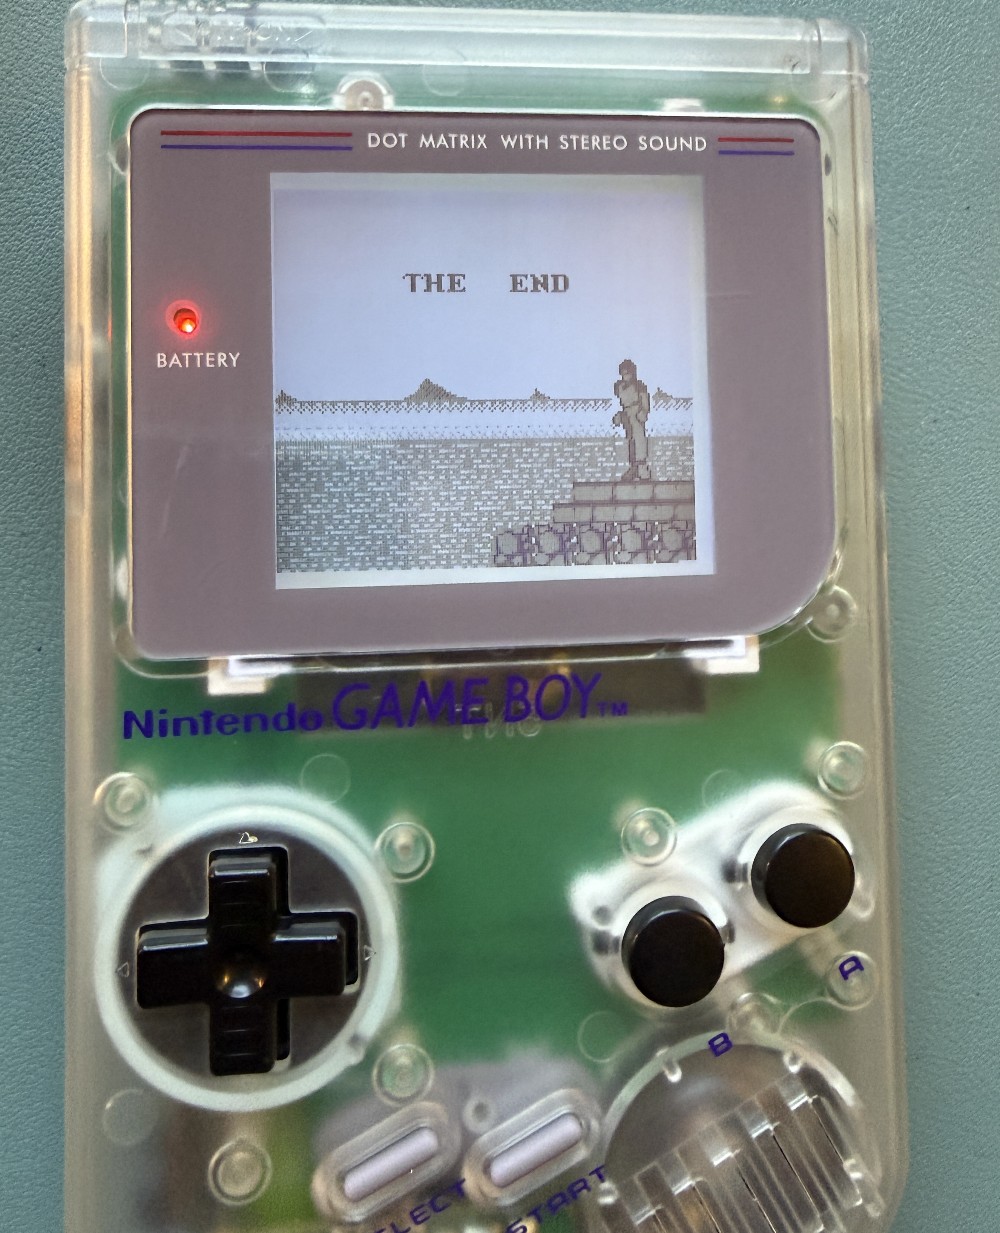
I closed the case back up, turned it on and there was "Bart vs. the Juggernauts" running smoothly 😎.
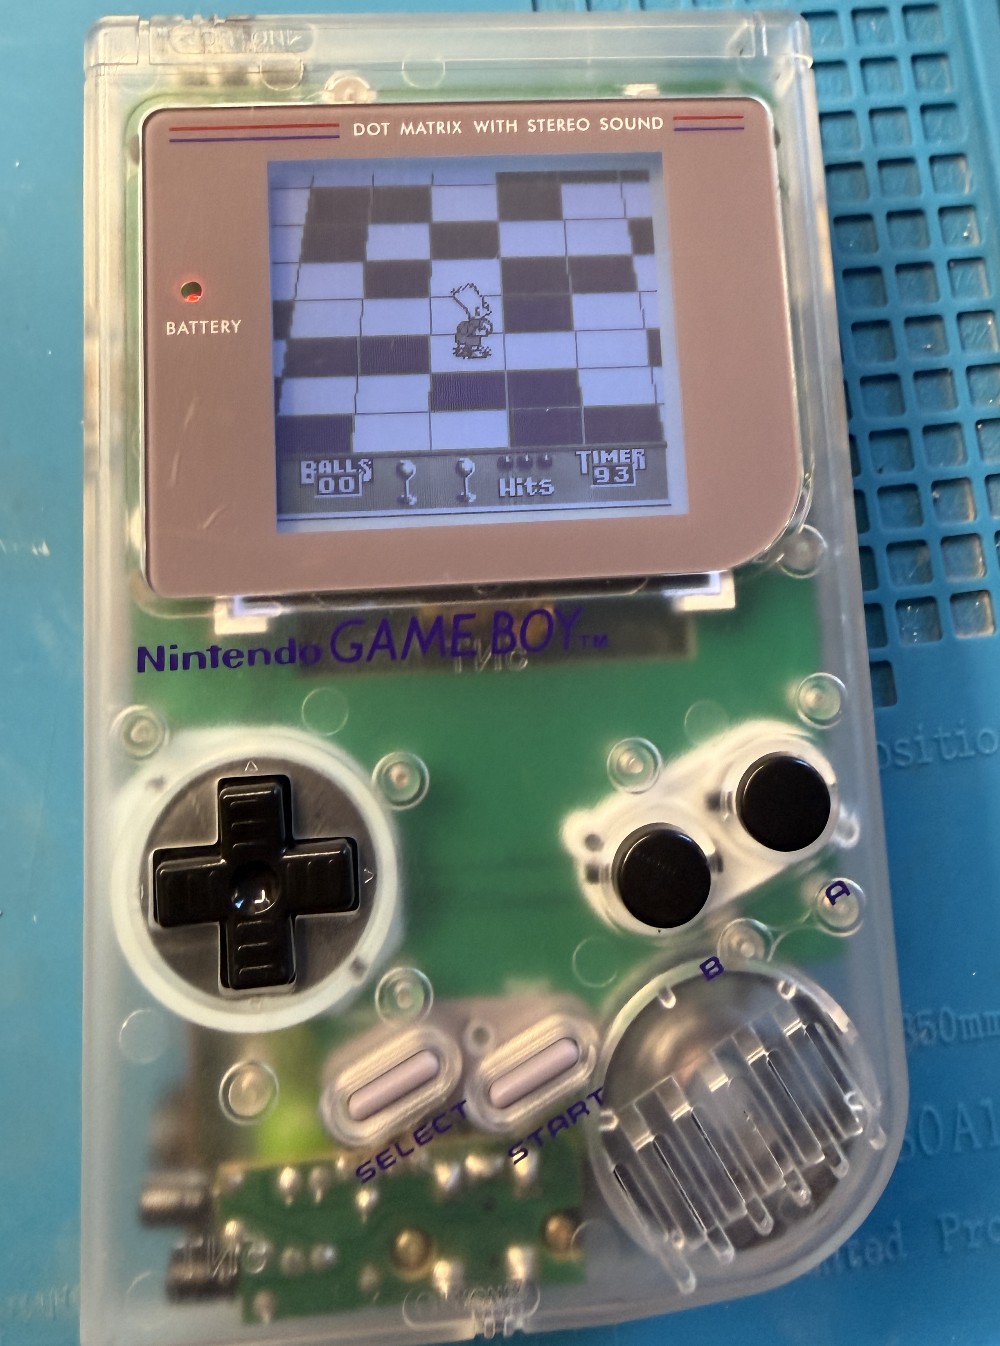
Final Test
Then I did what I also do with new or repaired Game Boy consoles: I quickly start and play through Kung Fu Master - my first ever Game Boy game and the one I have played through most often so far.