Fixing and Restoring a Game Boy
October 31, 2025I have blogged about fixing and modding Game Boys in the past and this has turned into a bit of a hobby since then.
Just this year, I must have bought half a dozen of these on platforms like vinted or Willhaben. I usually look for postings saying "non functional", "for spare parts" or "won't turn on".
Typically, they are not that hard to repair but their general appearance and condition is the bigger issue.
First Make it Work
This Game Boy on the picture below is a perfect example. It was described as "does not turn on". The only problem however was a bit of corrosion on the battery contacts.
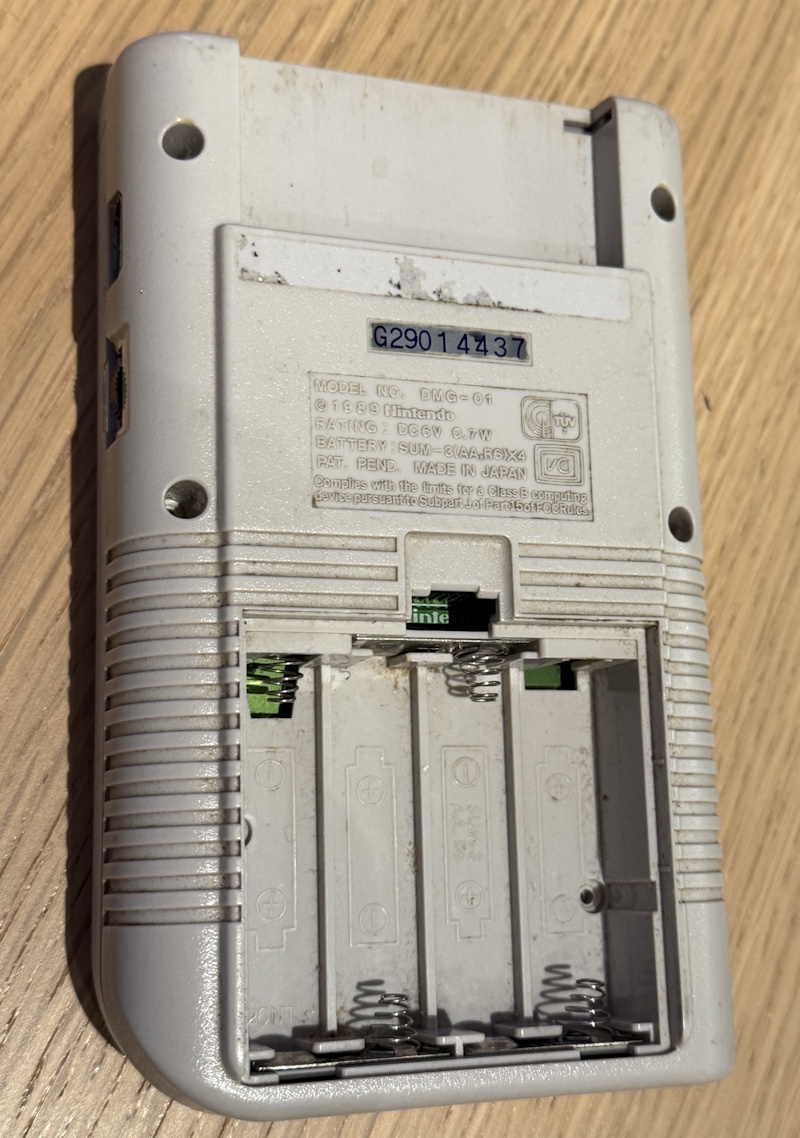
It's not so clearly visible on the picture here (I have seen much worse) but maybe that's the problem in itself: a thin layer of corrosion is enough to prevent the batteries from making contact and the Game Boy is considered "broken".
It's usually enough to take the battery contacts out, put them in a white vinegar (for cleaning) bath, give them a good scrubbing with a brush and clean them with isopropyl alcohol. In cases of advanced corrosion I sometime take a grinding pen (like this one) to the contacts or replace the springs.
This is usually enough to have a working Game Boy again. Which leaves, the visual state ...
Then Make it Pretty
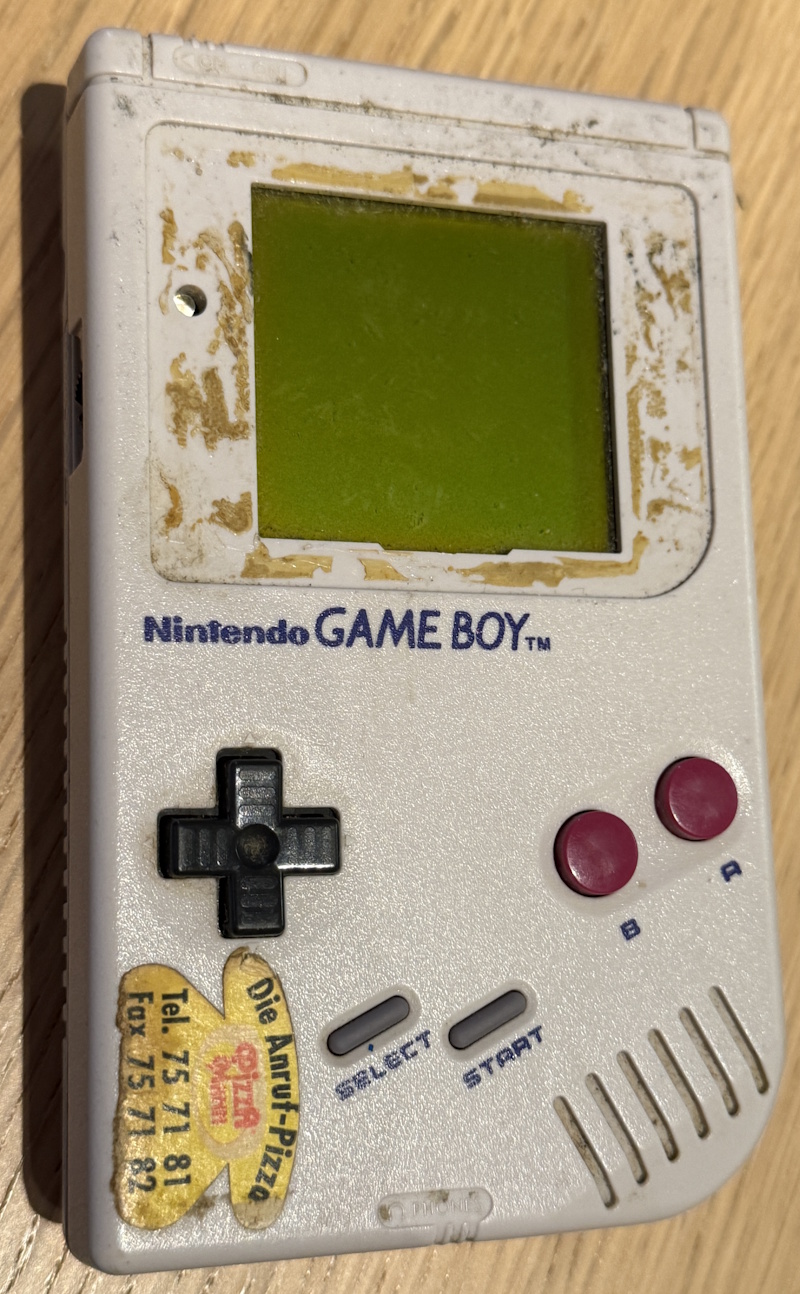
This picture is a good example of the state those devices are often in:
- Greasy and filthy 🤢
- The plastic is discolored and has a yellowish taint.
- Stickers on the case. Under those stickers, the plastic is usually in its original color, pronouncing the discoloration even more.
- Missing display bezel.
- Missing battery compartment cover.
So, let's take care of these issues step by step:
First, we need to take the Game Boy apart.
Then, to get rid of the filth and grease, let's give all the plastic parts a good clean. I usually let them soak in warm water with dishwasher detergent, then give them a scrub with a old toothbrush.
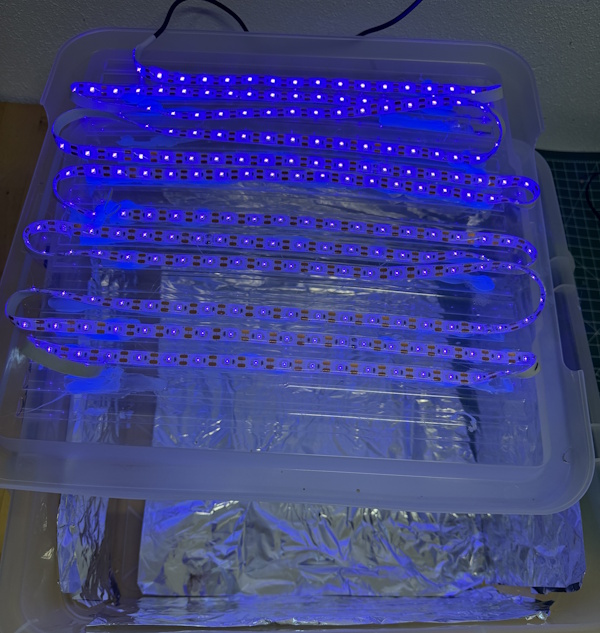
To get rid of the discolorization, the good old RetroBrite treatment comes into play. For that, we apply a thin coating of hydrogen peroxide cream (e.g. this here) to the plastic parts and put them under UV light for about 24 hours (repeat if necessary). I made a UV light box for this, but natural sunlight actually works best in my experience.
Then its another round with isopropyl alcohol - but this time all the electronic parts get a good scrubbing. Pay special attention to any kind of corrosion (blue spots) and the pads where buttons make contact with the board.
Finally, it's about replacing missing or broken parts. I already have a good collection of spare Game Boy parts (buttons, battery covers, ...) that I assembled over the years. However, you also get these components quite cheap all over the internet.
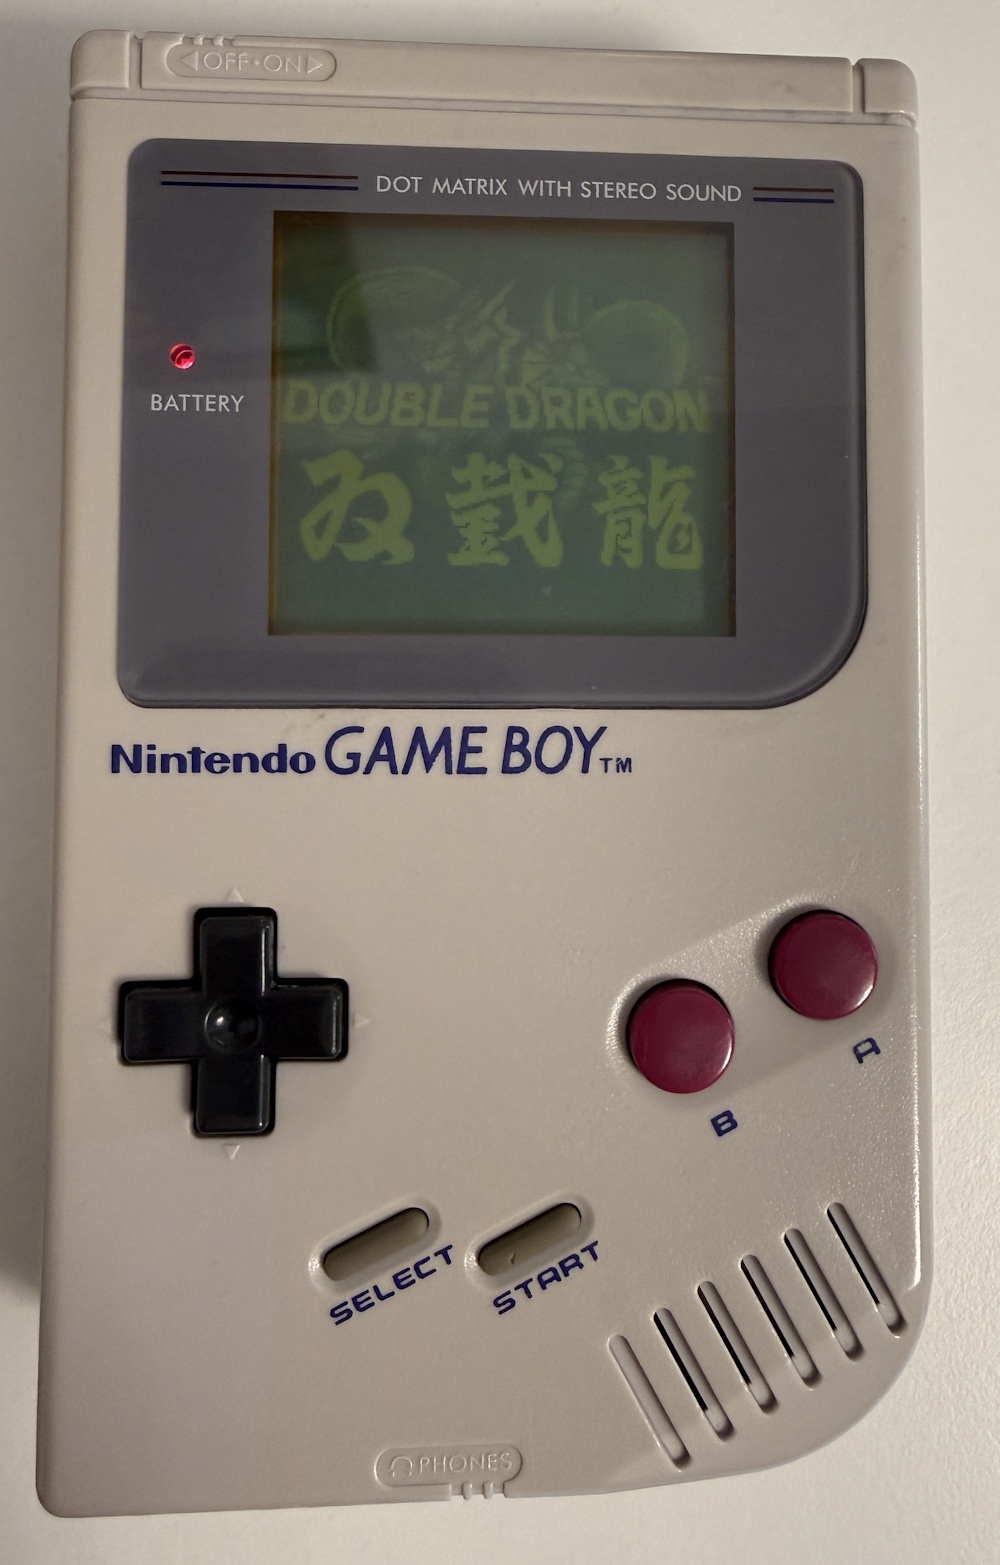
So, here it is - a fully restored and working Game Boy!