Fixing and Modding a French NES
October 30, 2025I recently stumbled across a non-functioning, French NES on Vinted. It was quite cheap and I like fixing stuff so I decided to give it a try.
Why did I mention that this was a French NES though? Does it make a difference, you ask?
Yes, indeed it makes a difference.
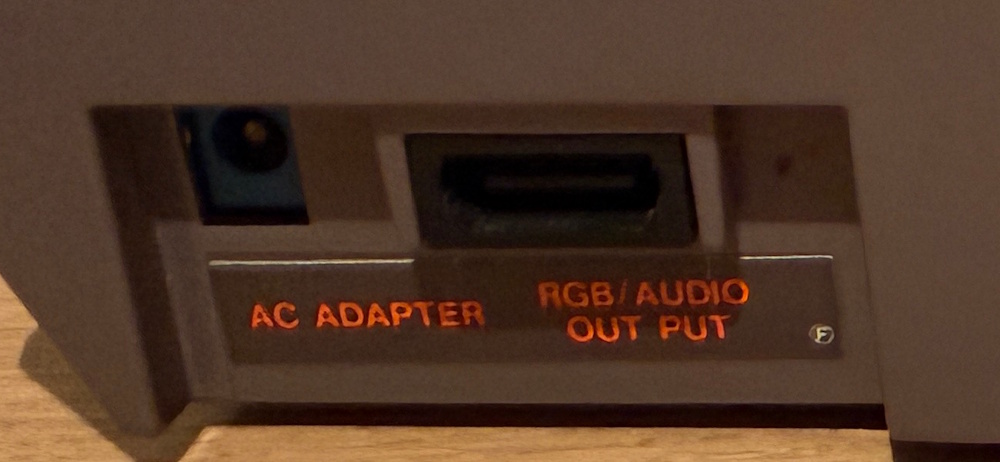
Back in the days, the French used a different TV standard (SECAM) than most of the rest of Europe (PAL). Hence, French NES consoles were equipped with a different video port that outputs RGB instead of composite video. It also came with a dedicated cable that connected to the TV's SCART interface.
But - first things first - the console was sold as non-functional, which means there was no video signal to begin with.
The Fix
It turned out "fixing" the console was not too complicated after all. The consoled suffered from the notorious "blinking red LED syndrome".
Quite often, this only means that cartridges are not making good contact to the connector pins inside the console due to corrosion or just need a good clean.
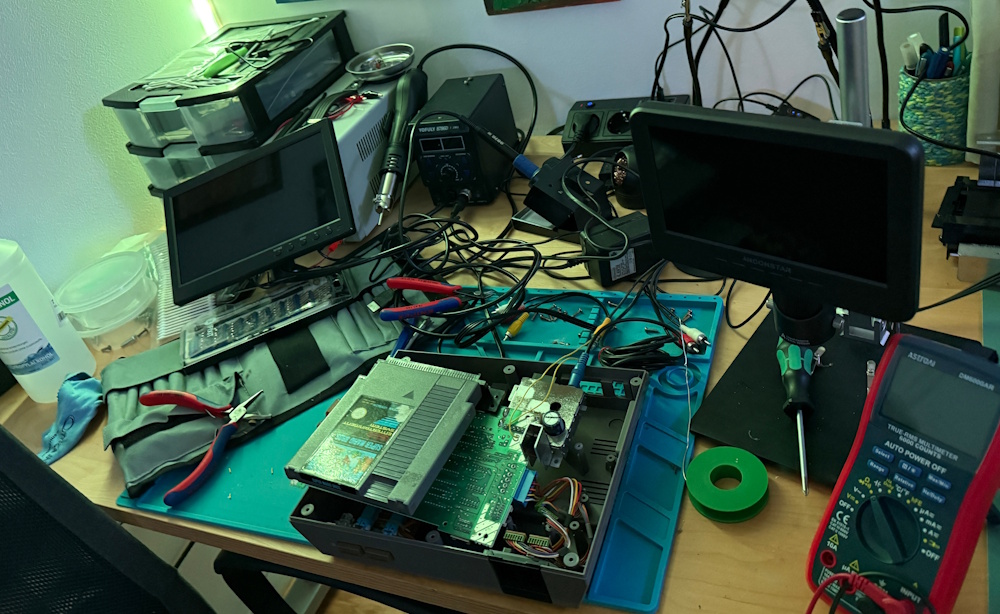
So I opened up the console, and wow 😱: that thing was filthy! It even had spider webs on the inside!
I took everything apart, rinsed and scrubbed the the parts with Isopropyl alcohol, paying special attention to the cartridge connector and the pads where it connects on the board.
Then, I put it (mostly) back together, inserted a cartridge, turned it on - and guess what: I got a steady, red LED. That was easy 😇!
The Video Mod
Since the console had not come with its original, special cable and I wanted a more "universal" solution than SCART anyway, I went straight for a composite video mod.
As it turned out, this was relatively easy as well, as the composite video signal was already "up for grabs" on the board, before it went into the special French converter circuit that transformed it into an RGB signal.
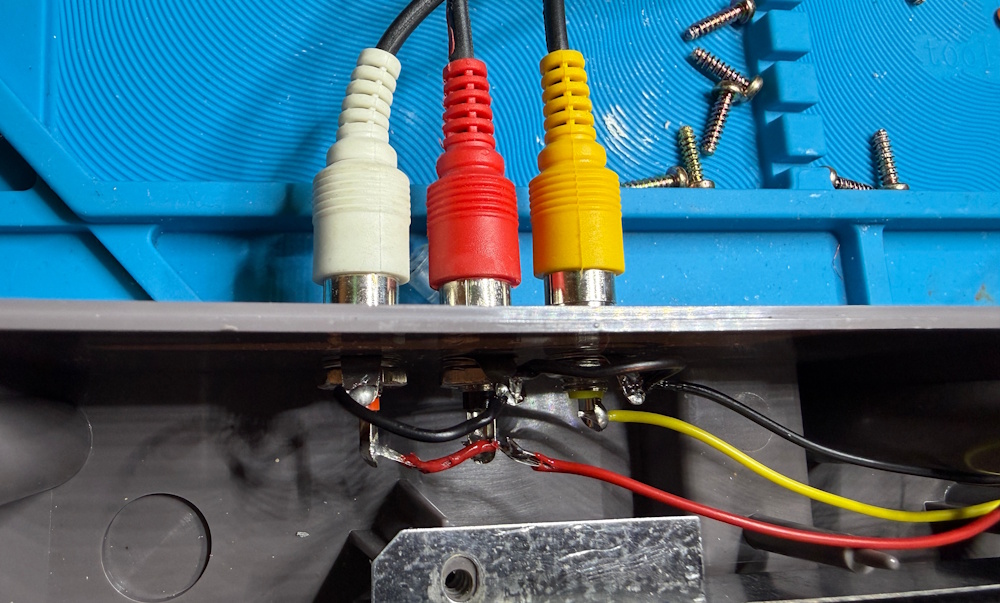
So I just soldered some wires to the 5 pin connector (on the top right of the board), pin 1 being composite video, pin 2 being audio and ground just anywhere from the ground plane.
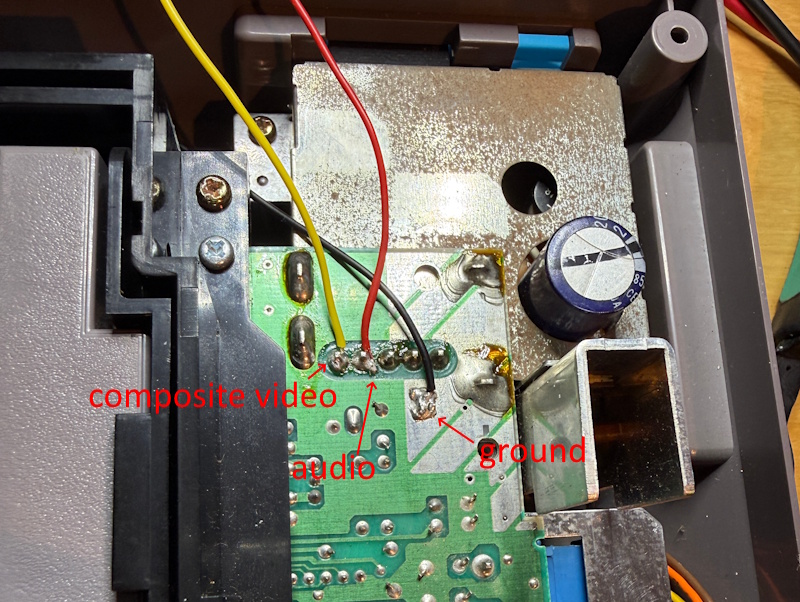
The other end of these wires I quickly connected to some RCA jacks and ... I got a picture ... and sound!
So (similar to my previous Atari 2600 mods), I drilled a couple of holes into the console case ...
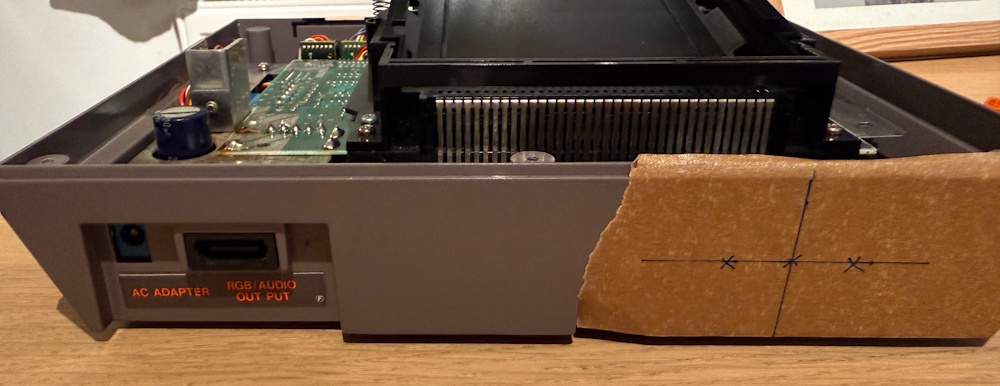
... screwed the RCA jacks in and soldered them to the wires.
Improving the Video Signal
One thing that I had already noticed when connecting my TV before was that the colors seemed a off and "washed out". Luckily, this was another expected problem that could easily be fixed by soldering a 220 Ω resistor between between the composite video pin and the RCA jack.
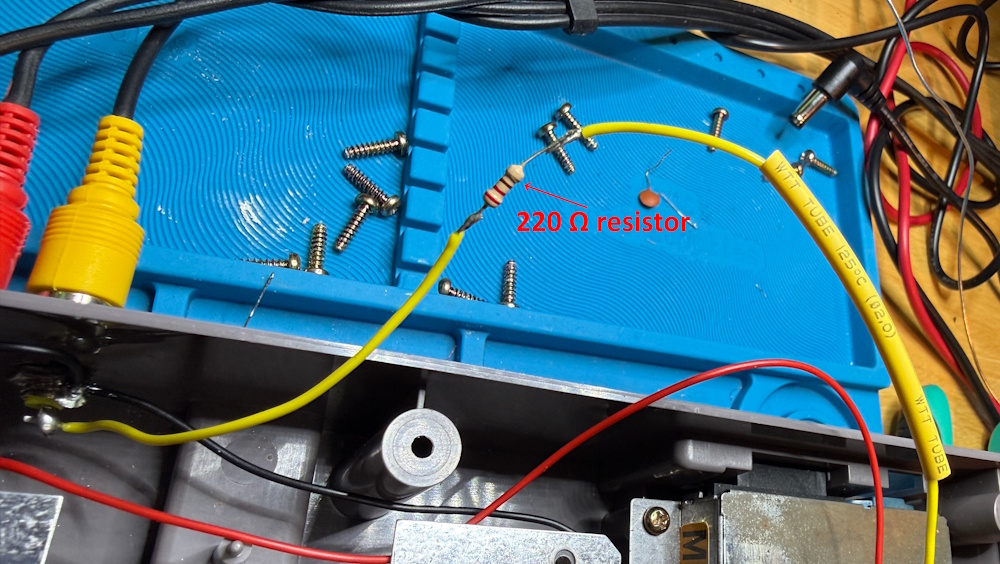
Note: Some sources also recommend soldering in an additional 100 nF capacitor after the resistor but in my case this had a detrimental effect and made the picture unstable, which is why I removed it again. Your mileage may vary, so keep this in mind.
Then, I closed the NES console back up, connected my trusty, old CRT TV and played some Super Mario.
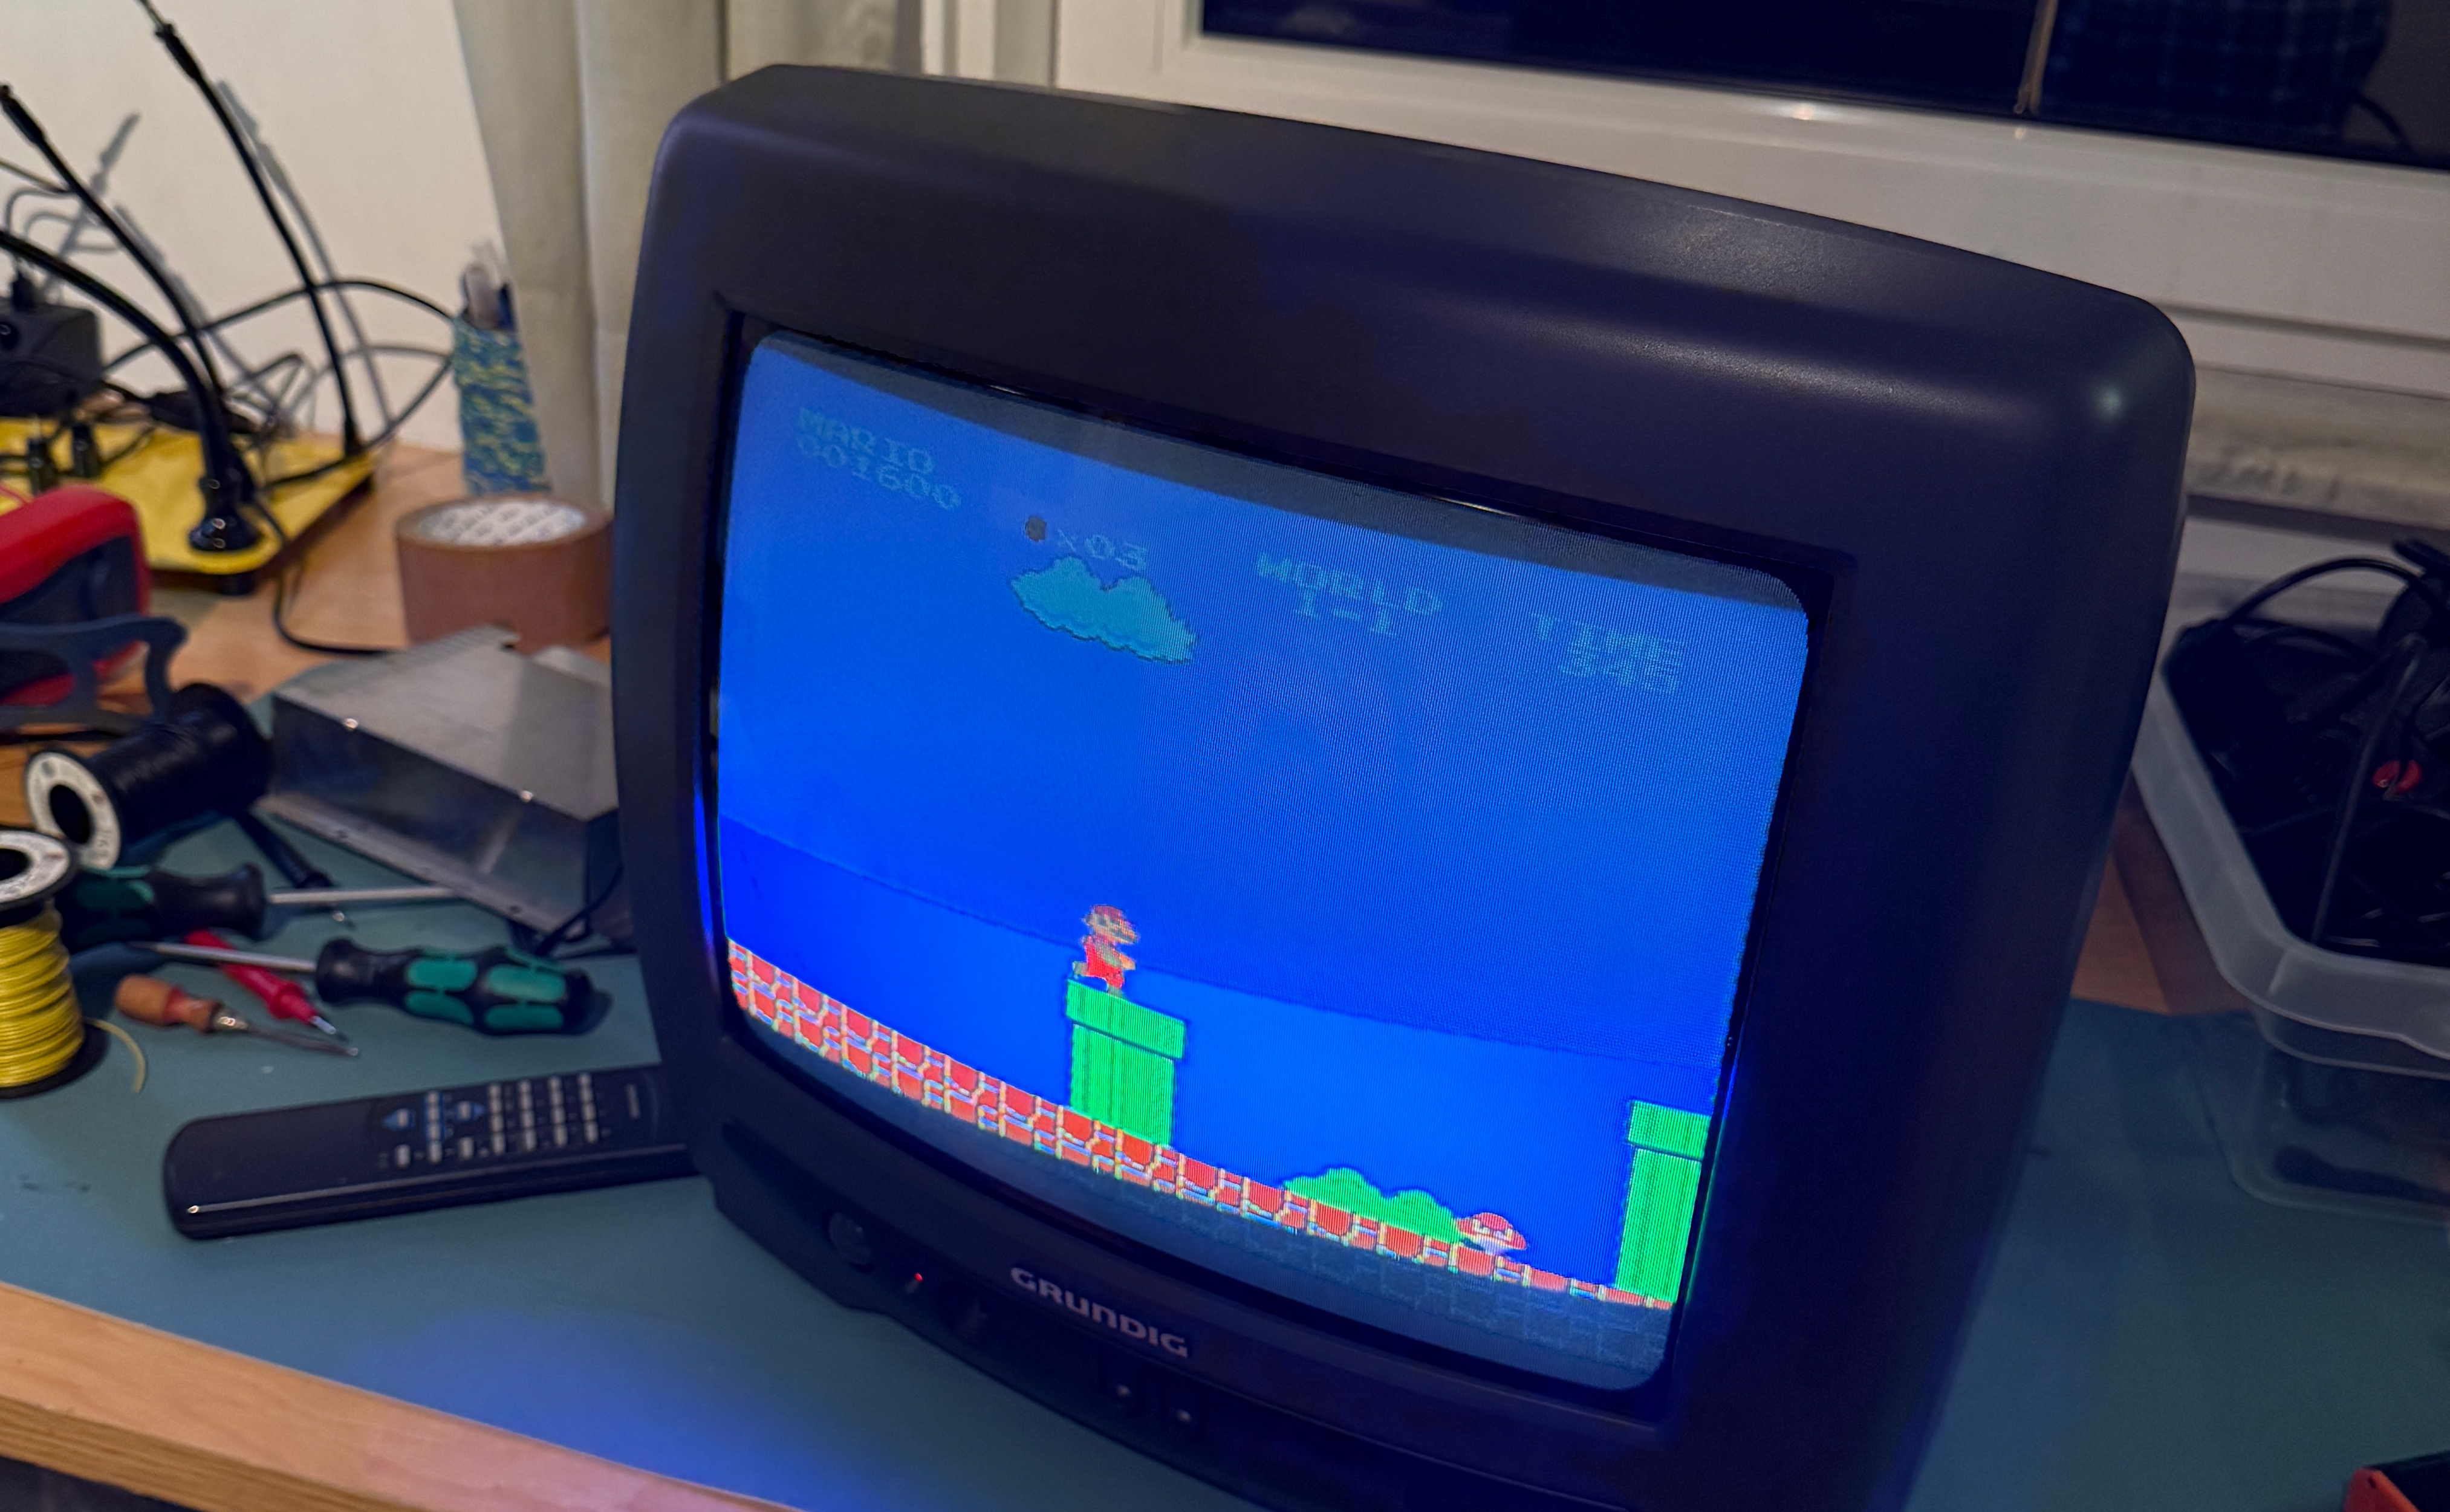
Mission accomplished 🤩!