Making a RaspberryPi Handheld Console (GamePi)
August 31, 2017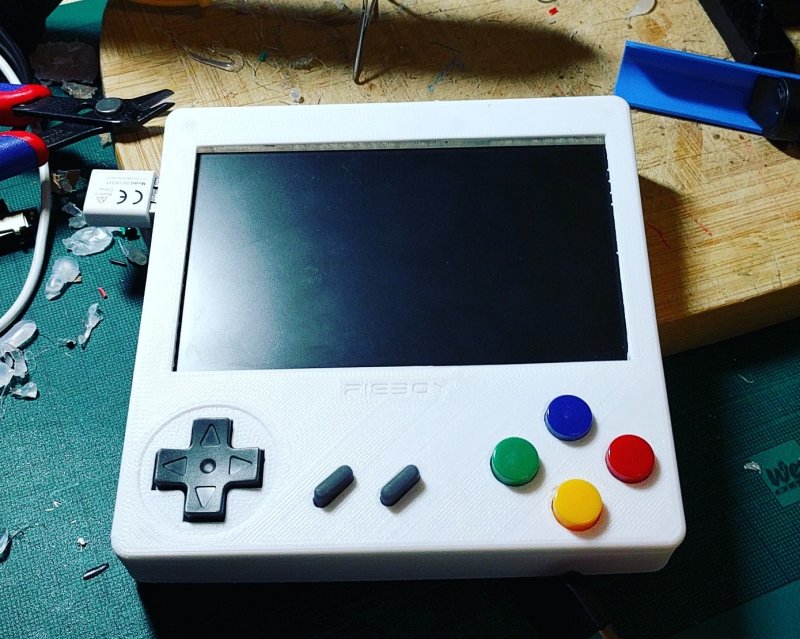
Wow, this project took me quite a while. But I eventually managed to finish it and I think it's worth a blog post now.
Of course, building a handheld console based on the RetroPie platform is nothing new or innovative any more - believe me, I am fully aware of that. But then, each project is probably a little different and comes with its own set of challenges and surprises.
Part List
- Case (3D printed)
- Raspberry Pi Zero
- Monitor
- 5V to 3.3V voltage regulator
- Small USB Hub
- USB WIFI Dongle
- USB Game Pad
- USB Audio Adapter
- Audio amplifier
- Speaker
- Battery Pack
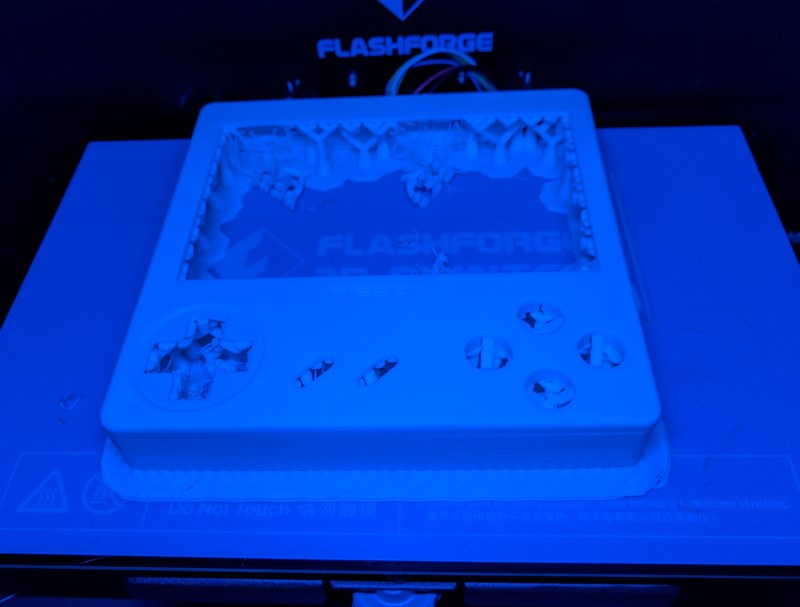
Case
That was the easy part and probably the thing that got me started with this project. When I bought my 3D Printer last year, I was obsessed with that new hobby and constantly looking for stuff that I could print. Browsing on Thingiverse I discovered multiple different Game Boy models and finally settled on this one since it looked like a good fit for the screen I would be using.
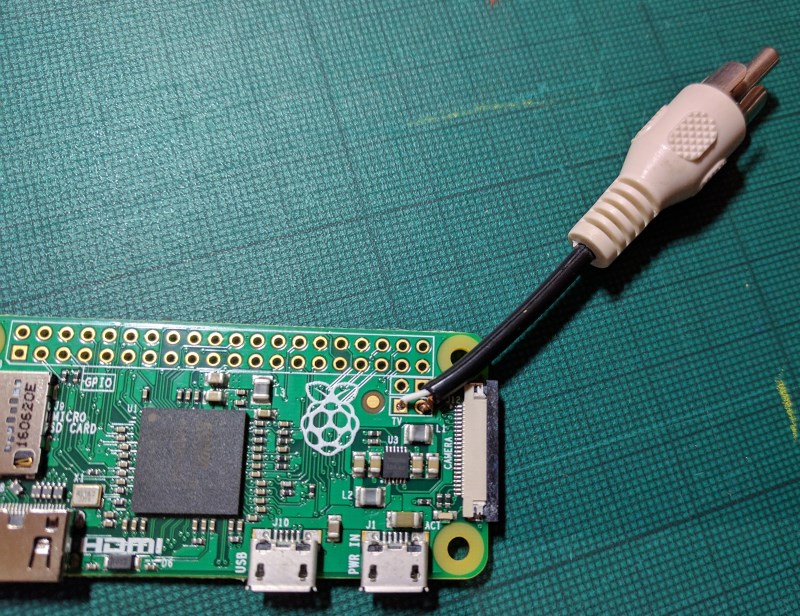
Raspberry Pi Zero
While the case was designed for the original "regular sized" Raspberry Pi model B, I decided to go with the Zero version. Honestly, I have no idea how they managed to even find place for the original model inside the case next to all the other components.
During the build of this project, the Raspberry Pi Zero W was released which got me very excited ... for a short moment. Then I figured, I would need a USB hub anyway since I had to connect the keypad and the audio adapter.
There are solutions for connecting both the keypad buttons and audio without using USB ports. Then a Raspberry Pi Zero W would the perfect fit for this project. Maybe next time I'll got the extra mile. This time I took the easy road.
Display
As mentioned previously, I had chosen the case to fit the display I already had at home, a 5'' rear view car monitor. Of course, a digital display would have been nicer (and easier to work with) but my usual goal is to work with hardware I already have at home.
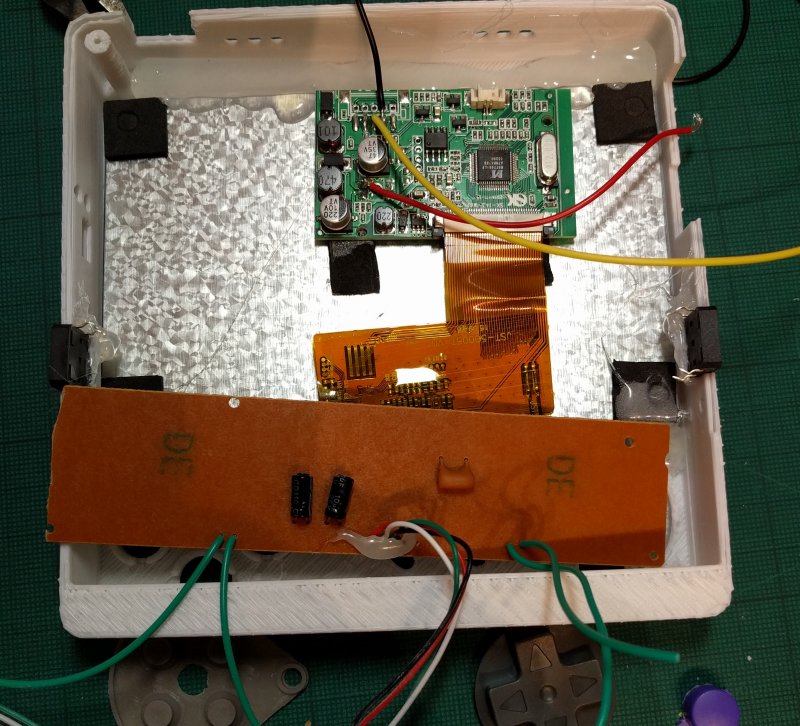
The first issue with this display was that it uses composite video which the Raspberry Pi Zero does not provide out of the box. Luckily, you can just solder the connector back on.
The next and bigger issue with the display was voltage. Since it is designed for in-car use, it runs on 12V which was not what I was looking for. But usually these kind of monitors have a voltage regulator bringing the voltage down to 3.3V or 5V. So I went looking for this voltage regulator and indeed: 3.3V was the voltage actually used by this hardware.
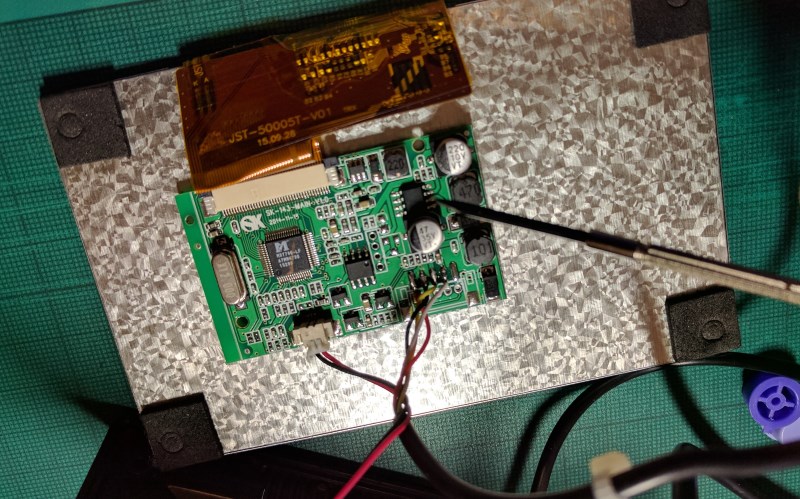
I simply removed the voltage regulator, soldered the power cable in directly and gave it a first run from my lab power supply. All good.
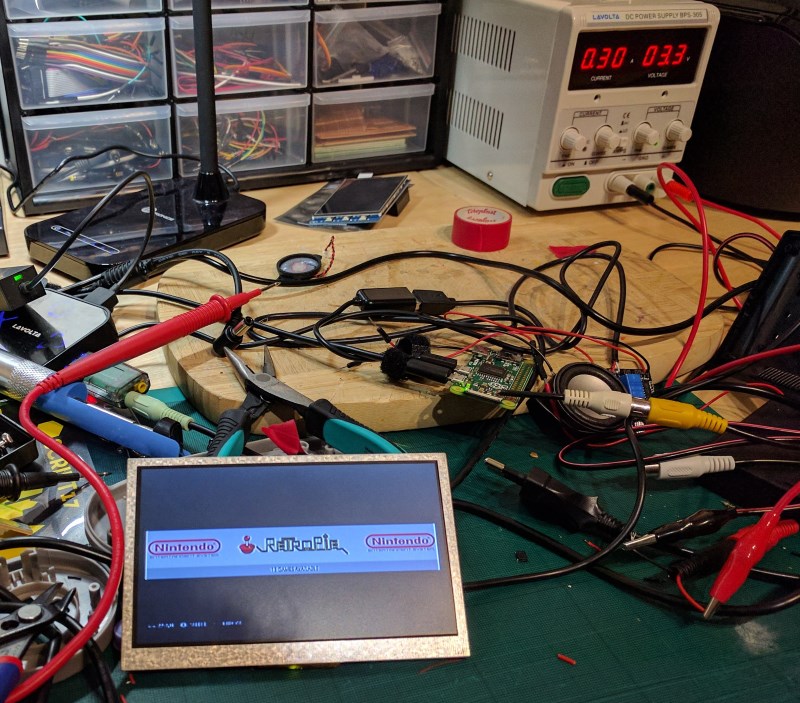
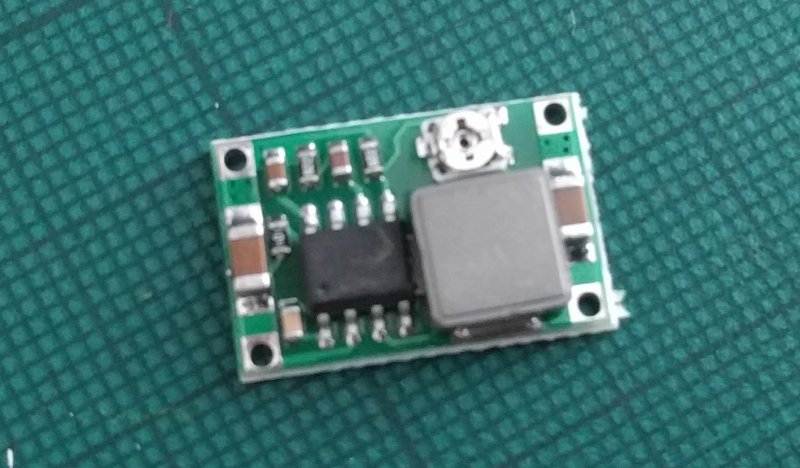
Nonetheless, the Raspberry Pi runs on 5V and so I had to bring this voltage down using yet another voltage regulator which would be added between the battery pack and the monitor later.
Input
The next thing I needed to deal with was input. For that I disassembled a USB game pad, which I already had at home.
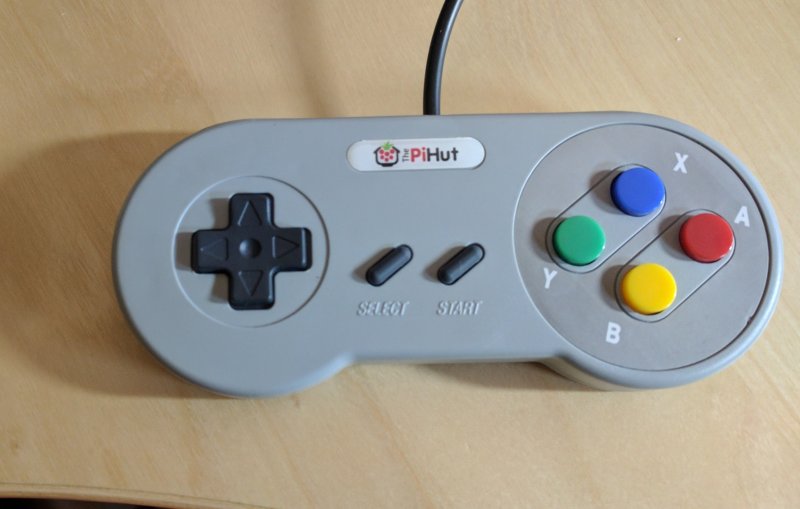
It fit perfectly into the case so at that point I started hot glueing the display and the key pad board into place. I simply connected it via USB as already mentioned above (a GPIO based button solution would have saved a USB port here).
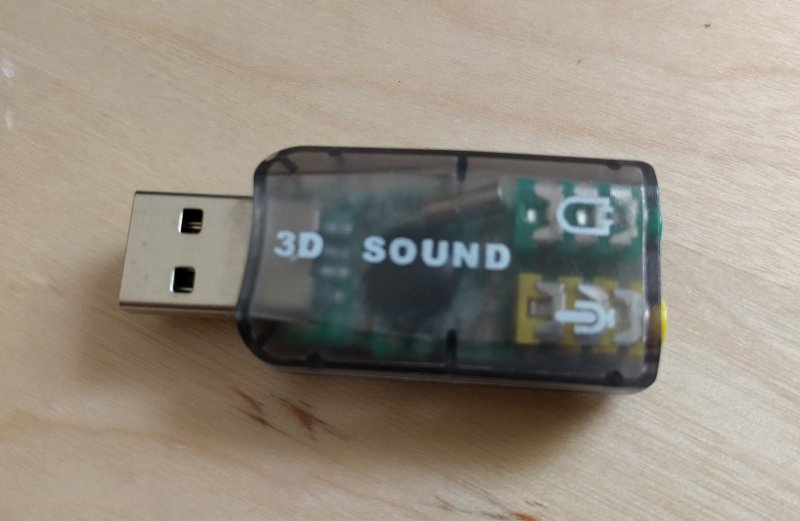
Audio
Another disadvantage of the Rasperry Pi Zero turned out to be the lack of an audio jack. I only delivers HDMI audio. There is a way to add basic audio capabilities to the Raspberry Pi Zero but I went the easy way here using a USB adapter that would give me audio capabilities.
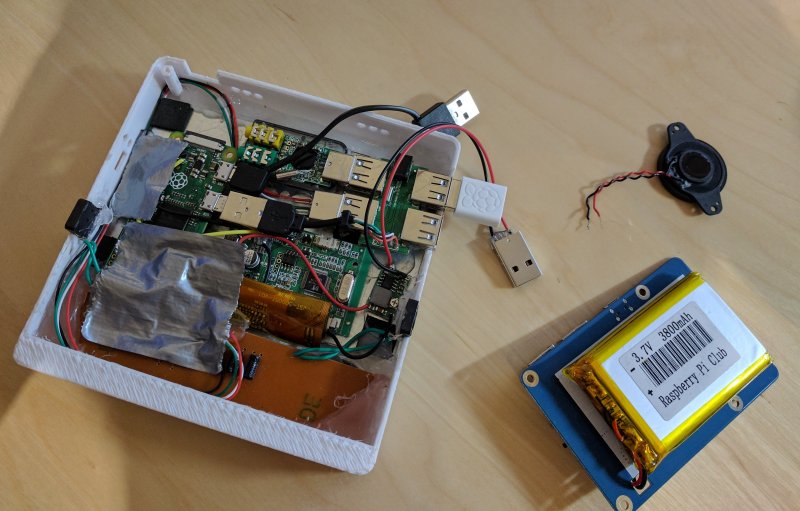
By that time I had lost all the space gained with using a Raspberry Pi Zero instead of a "regular sized" one. The extra USB hub, USB audio adapter and audio amplifier needed at least that much space.
On the upside: This just worked. Without any hassle I now had audio.
Power
For batter power and charging, I bought a ready-made solution which allows for easy charging and can power 2 devices (the Raspberry Pi and the monitor). It added yet more bulk to the whole build but due to the generously sized case I was able to fit all the components in the end.
Done!
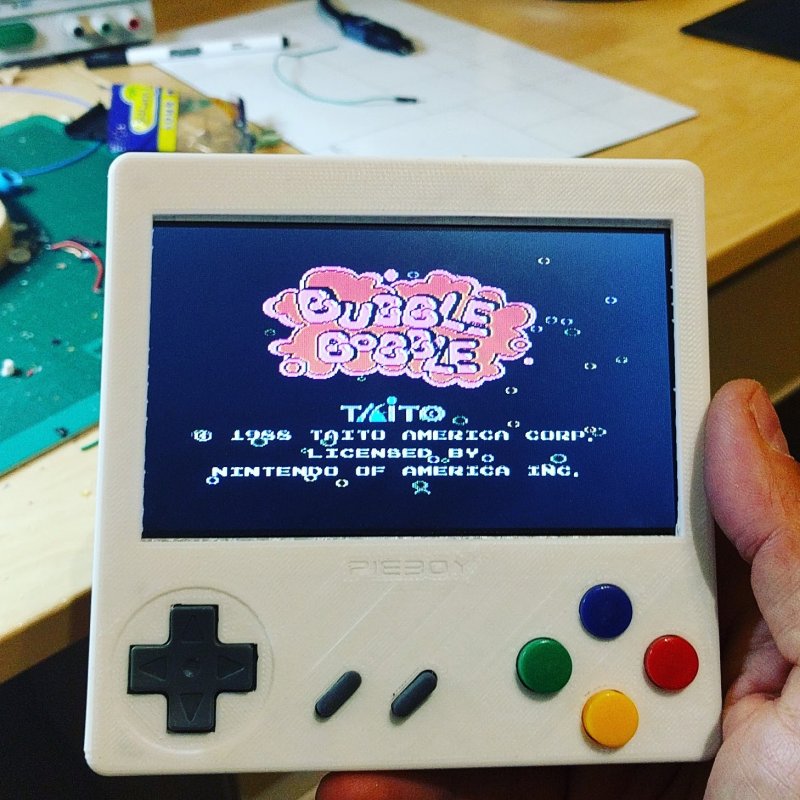
So finally I am done with this project (and this blog post) and I can go back to playing Bubble Bobble or Zelda or Super Mario or Metroid ...