Making a Digital Birthday Card
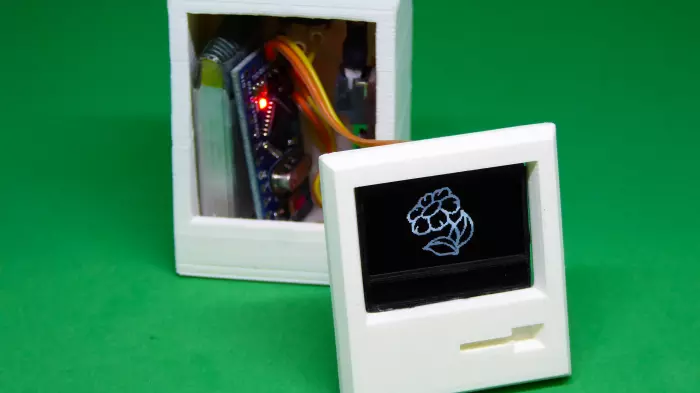
August 29, 2018I recently found this article in the German edition of Make: magazine on building a small, 3D printed "Mini Mac" that displays birthday wishes on an OLED display.
Coincidentally, a friend had their birthday coming up, so this was the perfect opportunity of building this "digital birthday card" myself. Since I usually
- try to build stuff with components I already have lying around
- bigger is usually better
- having color is always better
I went for a bigger build using a 2.4" TFT Arduino Shield display (which I recently blogged about for that very reason).
Case
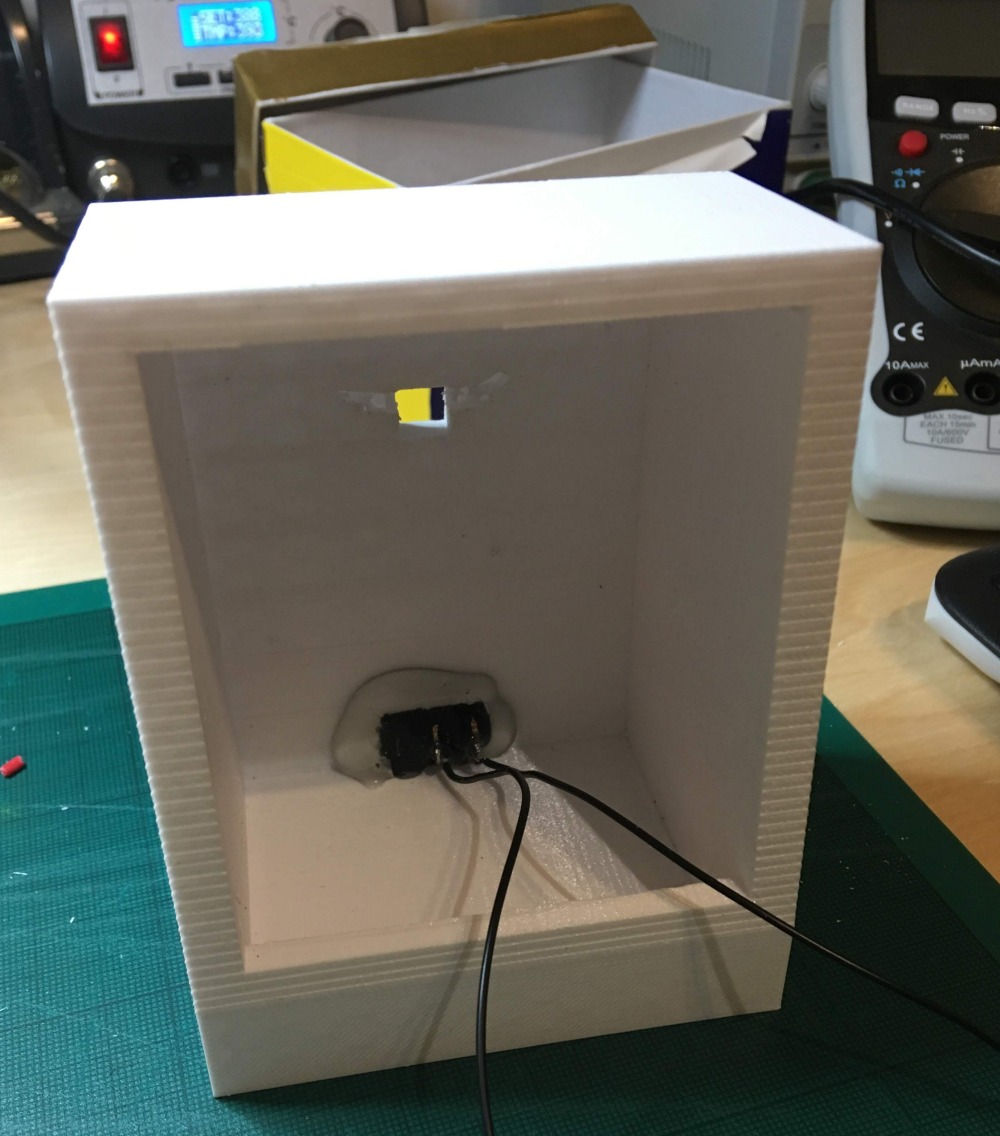
For the case I used the original 3D model from Thingiverse referenced in the article. Since I needed to fit the bigger display I simply scaled up the model to 240% size. I added extra holes in the back wall of the case to be able to fit an on/off switch and a USB socket for charging.
Power
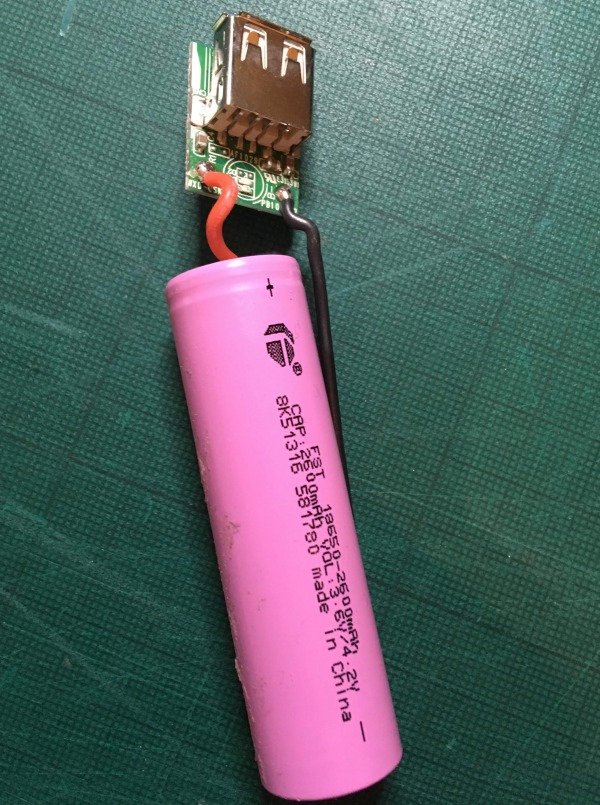
As I already mentioned, I try to make use of stuff I already have instead of buying new components. And since I have all kinds of power banks lying around, I decided to rip apart one on these and use it for powering this build. By making its USB port accessible through the back wall of the case, it could easily be charged again.
Display
A 2.4"" Inch TFT LCD Touch Display Shield for Arduino UNO serves as the project's display. Initially, I had some issues with it displaying colors correctly, but I was able to resolve them (see my blog post 2.4" MCUFRIEND TFT Shield for Arduino Displays Colors Incorrectly).
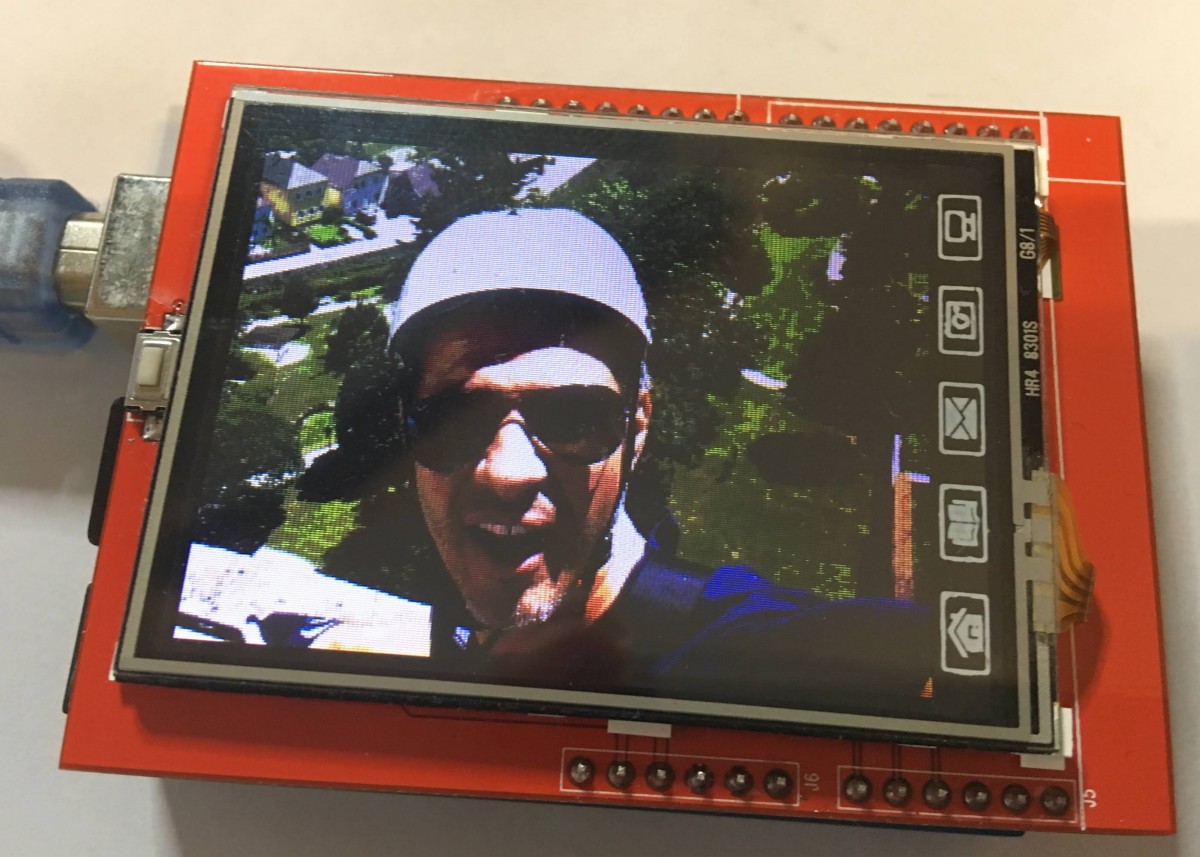
This shield also features a Micro SD card reader which I used for storing the images that would be display on the "digital birthday card".
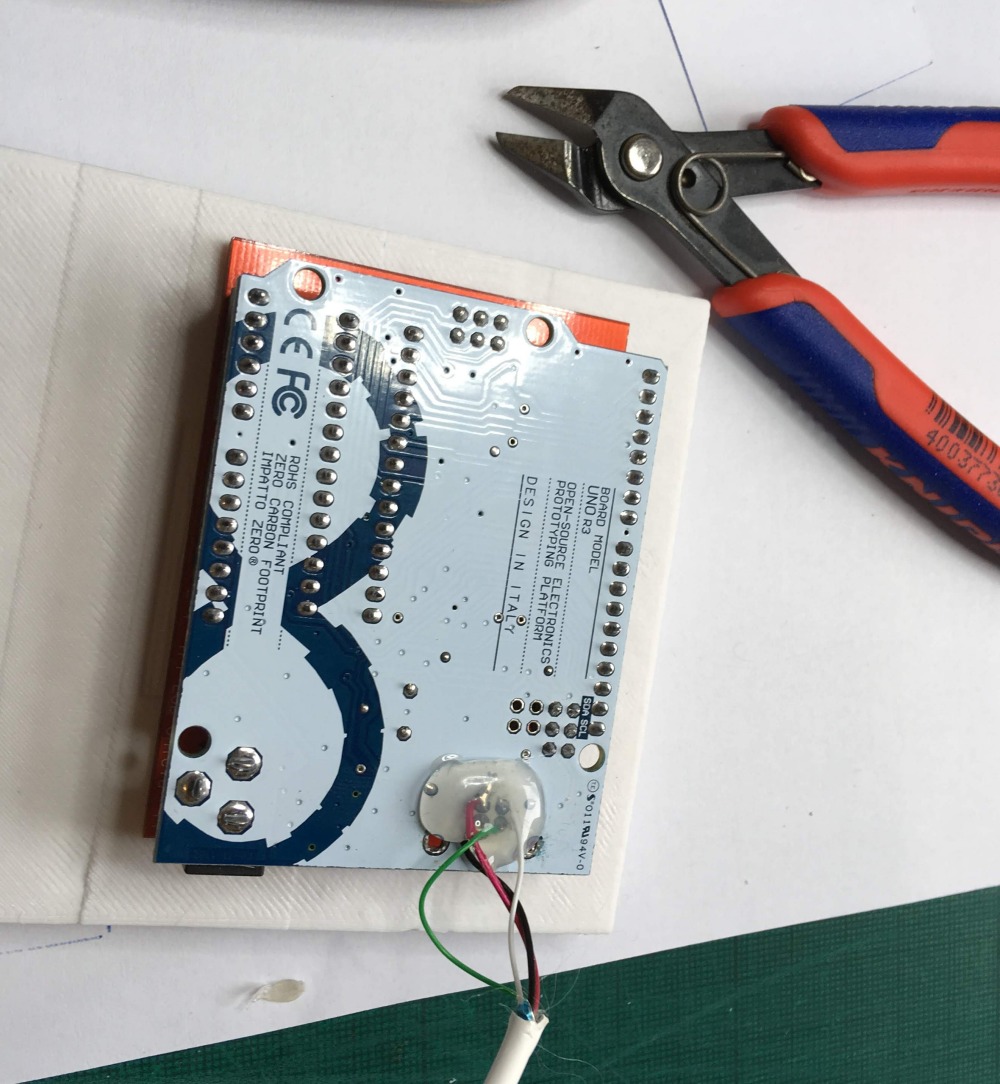
Core
The project's heart and brain was an Arduino UNO and the TFT display was sitting directly on its GPIO pins. Usually, space is a big constraint in projects like this but here the UNO was almost a perfect fit. The only sacrifice I had to make was unsoldering the UNO's USB socket and soldering the USB cable (which would be used for power in the final build) directly.
Software
The software itself was really nothing special and I simply used the Adafruit/TFTLCD-Library, which I found on GitHub for display images from the SD card in an infinite loop.
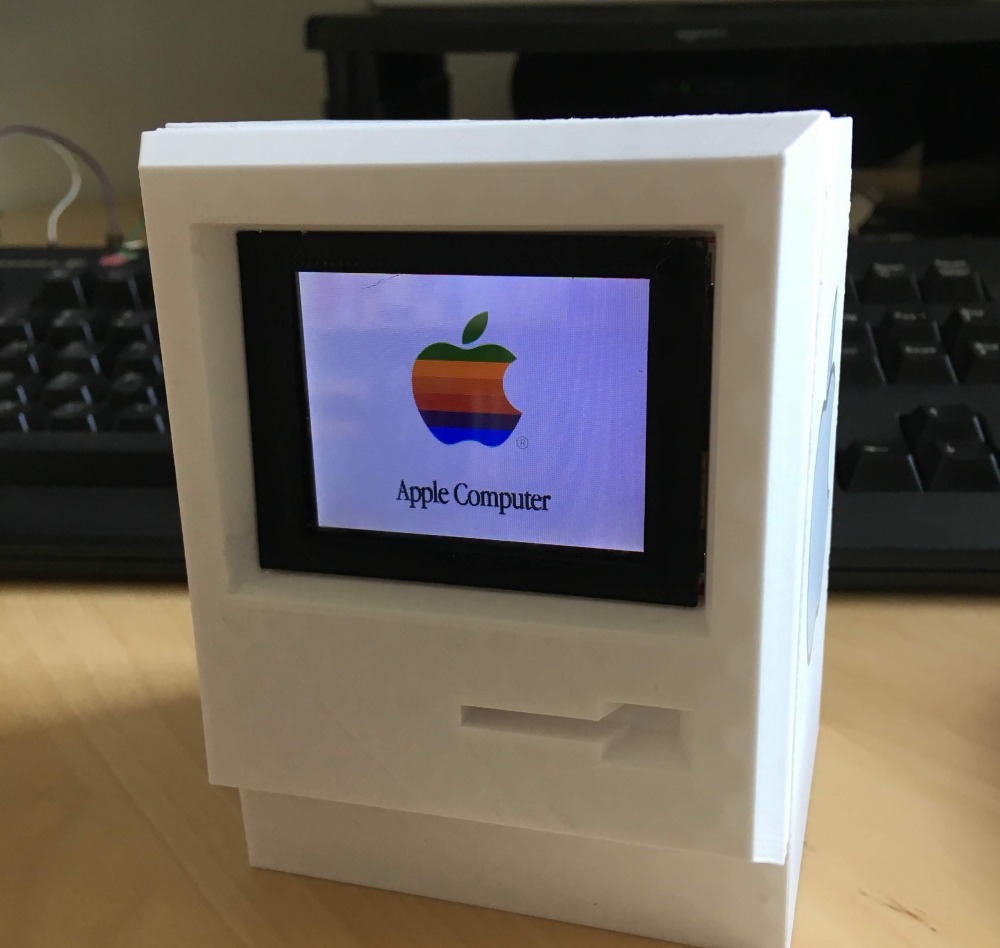
Final Build
After putting all the pieces together, this is what the final build looked like.
I have the say, I was pretty happy with the result!